Monday, January 31, 2011

Countdown to my First Craft Show - 5 days to go - Let the Crazy Creating Begin

This weekend I created about 20 bedspring wreaths some new and some re-dos, I really want to have a lot of duplicates in case some sell!  So it was a crazy busy weekend!

While visiting a friend on Saturday, she gave her dog Ella treats, which is in like this puzzle board and Ella had to move pieces around to get to the treats.  Fetchdog.com has a whole selection of these interactive toys and Bubba will definately be getting one of these, help him get rid of all that extra energy he has.

This is the board Ella had:

Dog Twister Brainy Board
So all you pet lovers out there check it out!  There is a great selection of beds and other great pet items too!

Saturday, January 29, 2011

Words for the Weekend

Frozen Heart, , Giclee Print, (Medium)
Photo by Angela Callanan and for sale in her
etsy shop.

We cannot all do great things.
But we can do small things with great love.
-Mother Teresa

Friday, January 28, 2011

Happy Weekend and a Freebie Font - Beyond Wonderland

Happy Weekend!  I found a wonderful free font and what a shocker it has something to do with Alice in Wonderland! 
This wonderful font is named "Beyond Wonderland" and can be download for free at Acid Fonts.

Most of my weekend is going to be spent gearing up for my first craft show at the Massena Winter Carnival. Stop by and check out some of my creations in person!

Happy Crafting!

Thursday, January 27, 2011

Product Review: No home should be without a Black & Decker Start It

As many of you who live in Northern NY know it was 30 below zero this past Monday and along with a whole bunch of problems, my car would not start.  Not that I'm complaining my car just went over 120k miles and I haven't had any major problems with it (knock on wood).  The BF was busy trying to fix the furnace :( and couldn't look at my car so I worked from home and he got it going later on.   Tuesday morning when I went to start my car, it still would not start.  So I went in and got our Black And Decker jump starter, I very easily turned it on and hooked it up to the battery and it started my car with no issues.  It is small and light enough that I brought it to work with me in case I had more issues on my way home!  I strongly recommend.

Black & Decker VEC010BD Start It 300 Amp Jump Starter
Amazon.com: Black & Decker Start It

Wednesday, January 26, 2011

Join me at my first craft show at the Massena Winter Carnival! :) I'm so excited!

Ever wonder what my creations look like in real life?

Need to get out of the house and escape cabin fever?

Springs n' Things will be at the Ladies Day Out on Saturday February 5th from 11 am - 3 pm at the Hawkins Point Visitors Center in Massena, NY!  Come check it out, there will be a bunch of other great vendors as well!  For an entire event listing, please go to www.massenachamber.com.

image borrowed from massenachamber.com

In love with Red and Teal - An Etsy Treasury List

I really love red, our kitchen is red and our TV stand is red.  Teal is not normally a color that would be chosen to go with red, but I absolutely love this color combination featured in this Etsy Treasury List, Poppy Red and Aqua Wedding.  There is vintage classic but still fun feel to it.  Check it out!

Red & white valentine heart with aqua ribbons and charms
Cute Red Gingham Ring Pillow by pippinstudio


Tuesday, January 25, 2011

"Button, button who's got the button?" - Tweedle Dee, Alice in Wonderland - Cute Button Garland

For some reason, like springs, I really like the look of buttons.  I have some berry garland all around the top of my kitchen cabinets.  I was getting pretty sick of it, and wanted to by new but the stuff is just so expensive.  I thought about painting it and may paint some of it still, but it would take forever!  So instead I had a bunch of buttons I'd gotten from people over time and ordered some yellow buttons off of Etsy.  I then strung the buttons on silver floral wire to make the garland.  I just did different sizes and shades and even some white ones too.  I think it adds a touch of color and cuteness to the berry garland!


Monday, January 24, 2011

"We're all Mad Here" - An Alice in Wonderland Wedding

For all you fellow Alice In Wonderland lovers out there, on the Recycled Bride, they recently featured an Alice in Wonderland themed wedding it it is absolutely amazing.  Check it out!

QueenofHearts261
Lovely photo shoot by Adrienne Gunn

Saturday, January 22, 2011

Words for the Weekend

friendship
Photo by ClaireWise, can be purchased in her Etsy Shop

“Even though we've changed and we're all finding our own place in the world, we all know that when the tears fall or the smile spreads across our face, we'll come to each other because no matter where this crazy world takes us, nothing will ever change so much to the point where we're not all still friends.”

Friday, January 21, 2011

Upcycled Zipper Rosette - Brrrr it's going to be a cold weekend!

I haven't wanted to try these for so long!  I kept seeing flowers people made out of zippers and wanted to try my rosettes using a zipper.  The BF finally broke a zipper in his coat, so I ripped the old one out and took it to his grandma's to get replaced.  Check out the result!


The only difference from my original rosette tutorial is, i had to use a lot more hot glue to keep it together but I still thinks it neat, I'm going to make 2 more smaller ones out of the other half of the zipper and put them on a headband!

Thursday, January 20, 2011

"J" is for Janessa

I needed some more decorations for my office at work so I decided to make a fun letter "J".


I think I managed to find everything I loved in Martha Stewart Living magazines :).  I was even able to find some of my china pattern in there as well.

So to create this letter, I made the actual letter shape out of cereal boxes and glued it together then added some masking tape for some extra strength.


To start decorating it, I used some vintage sheet music I had gotten as packaging for springs I purchased off of Etsy.  It was too pretty to throw out so I knew I would use it for a project.  For the rest of the images, I just sat down with a stack of Martha Stewart Living magazines and clipped out everything I thought was "me".  I used a glue stick to attach them b/c I didn't have any mod podge :(, but I plan on sealing it with mod podge.  


I think this would be a creative gift for a friend or even for in a kid's room.  Enjoy!

Wednesday, January 19, 2011

Upcycled Lace Tablecloth Hearts &heart;

I am still working with my huge lace tablecloth, but I have been creating so many cute things I just wanted to share more.  Last week I created some great rustic lace hearts.  


To make this, the first step is to create a small wire frame to stretch the lace around.  I used some old fence wire, but you could use coat hanger or whatever you have handy.   Cut a square of lace or whatever you want to stiffen around the wire shape, just a big enough to wrap around the wire shape.   Have a square of parchment paper ready to put it on.  


 Put the square in the glue/water mixture, used in the Lace Basket tutorial (glue with a little water)


Ring out the square place it on the parchment paper, then place the wire shape on top of it and stretch the lace around it. 


Wait for it to try then peel it apart a little to get the frame out, it should still hold its shape, if you want you can trim the back up a little bit too.  I ran a piece of twine through a hole in it to create the above decoration.    I also made another curly corned basket. 


After making a couple hearts and 2 baskets, I still have all this tablecloth left, so I think I'm going to make a rustic lace heart garland :).

Tuesday, January 18, 2011

Flea Market Finds: Primitive, Rustic Strainer

On another visit to North Country Neighbors I found some more great finds and things for upcycling, but one of my happiest finds was an antique strainer for $5.  I'm using it as a bowl on my coffee table, I put a bunch of springs that I have for future projects around it and put a jar candle in the center.  It has a great rustic vibe, and I just love the springs :). At least they don't have to be stored in a drawer until I find a use for them!


Monday, January 17, 2011

Cookbook Review: Eat What You Love - More than 300 Incredible Recipes Low in Sugar, Fat, and Calories

I normally don't use cookbooks, most of my recipes come from the internet.  It's just that I never think to look at them when I'm at home, but this cookbook changed it all.  The recipes are all delicious and most of the dinner's are under 300 calories, but they still taste good!  I received this as a Christmas present from my BF's mom, she already had it and I had looked at it and really like it!  


A few of my favorites: 

1.  Filet Mignon with Gorgonzola Sauce
2.  Coffeehouse Chai Latte (Only 70 Calories)
3.  Spicy Kung Pao Shrimp
4.  Slow Cooker Rootbeer Chicken
5.  Better than Take-Out Orange Chicken

And so many more!  Find it on Amazon!

Friday, January 14, 2011

I broke down...bedspring "Love" for sale in my etsy shop.

So I broke down and decided to sell the cursive "Love" and heart I made.

Check it out!

Happy Friday! Time in a Bottle Charm Necklace and an Upcycled Angel

I have found lately that I have a real love for mechanical looking things, gears, springs, pulleys etc.  I decided to take apart a broken watch to check out the insides, you can buy neat watch movements on Etsy, but why buy when most people have a broken watch kicking around.  It took some doing, but I got the back off and loved what I found inside.  I decided to put it together into a charm necklace since I love them too.  I added a watchmaker's bottle I had and a few smaller lockets I also had to a chunky antique brass chain.  I think it is really cute.


I have to share this quote again b/c I think it describes my first soldering project wonderfully:


“The creative person is both more primitive and more cultivated, more destructive, a lot madder and a lot saner, than the average person." - Frank Barron


I am not sure I like this, but there is something interesting about it.  I figured I should share it anyway.  I think with more work it could be cute, right now it's too simple.  Basically it is made of  a bedspring I cut the top off, I soldered together smaller springs to make the wings and used the top of a spoon I flattened for a head (I had left over from my first spoon ring project to be shared next week).  I think if I made the wings bigger, by layering more small springs it would look cuter, and lose the spoon?!?!  All I can say is it is definitely interesting ....... :)


 Happy Weekend :)

Thursday, January 13, 2011

365: Make Something Everyday - “If you only do what you know you can do- you never do very much." - Tom Krause

Last week through the Etsy blog, I found a very inspirational blog, 365:Make Something Everyday.  I can pretty much already say I make something almost everyday, but some of the 365 day projects others are working on are so creative and inspirational.  I am working on a topic for my 365 day project, how about you!  

365: Make Something Every Day and Change Your Life

Wednesday, January 12, 2011

"Creative minds are rarely tidy" - Fabric Rosette Tutorial

I love the above quote, it describes my crafting chaos perfectly.

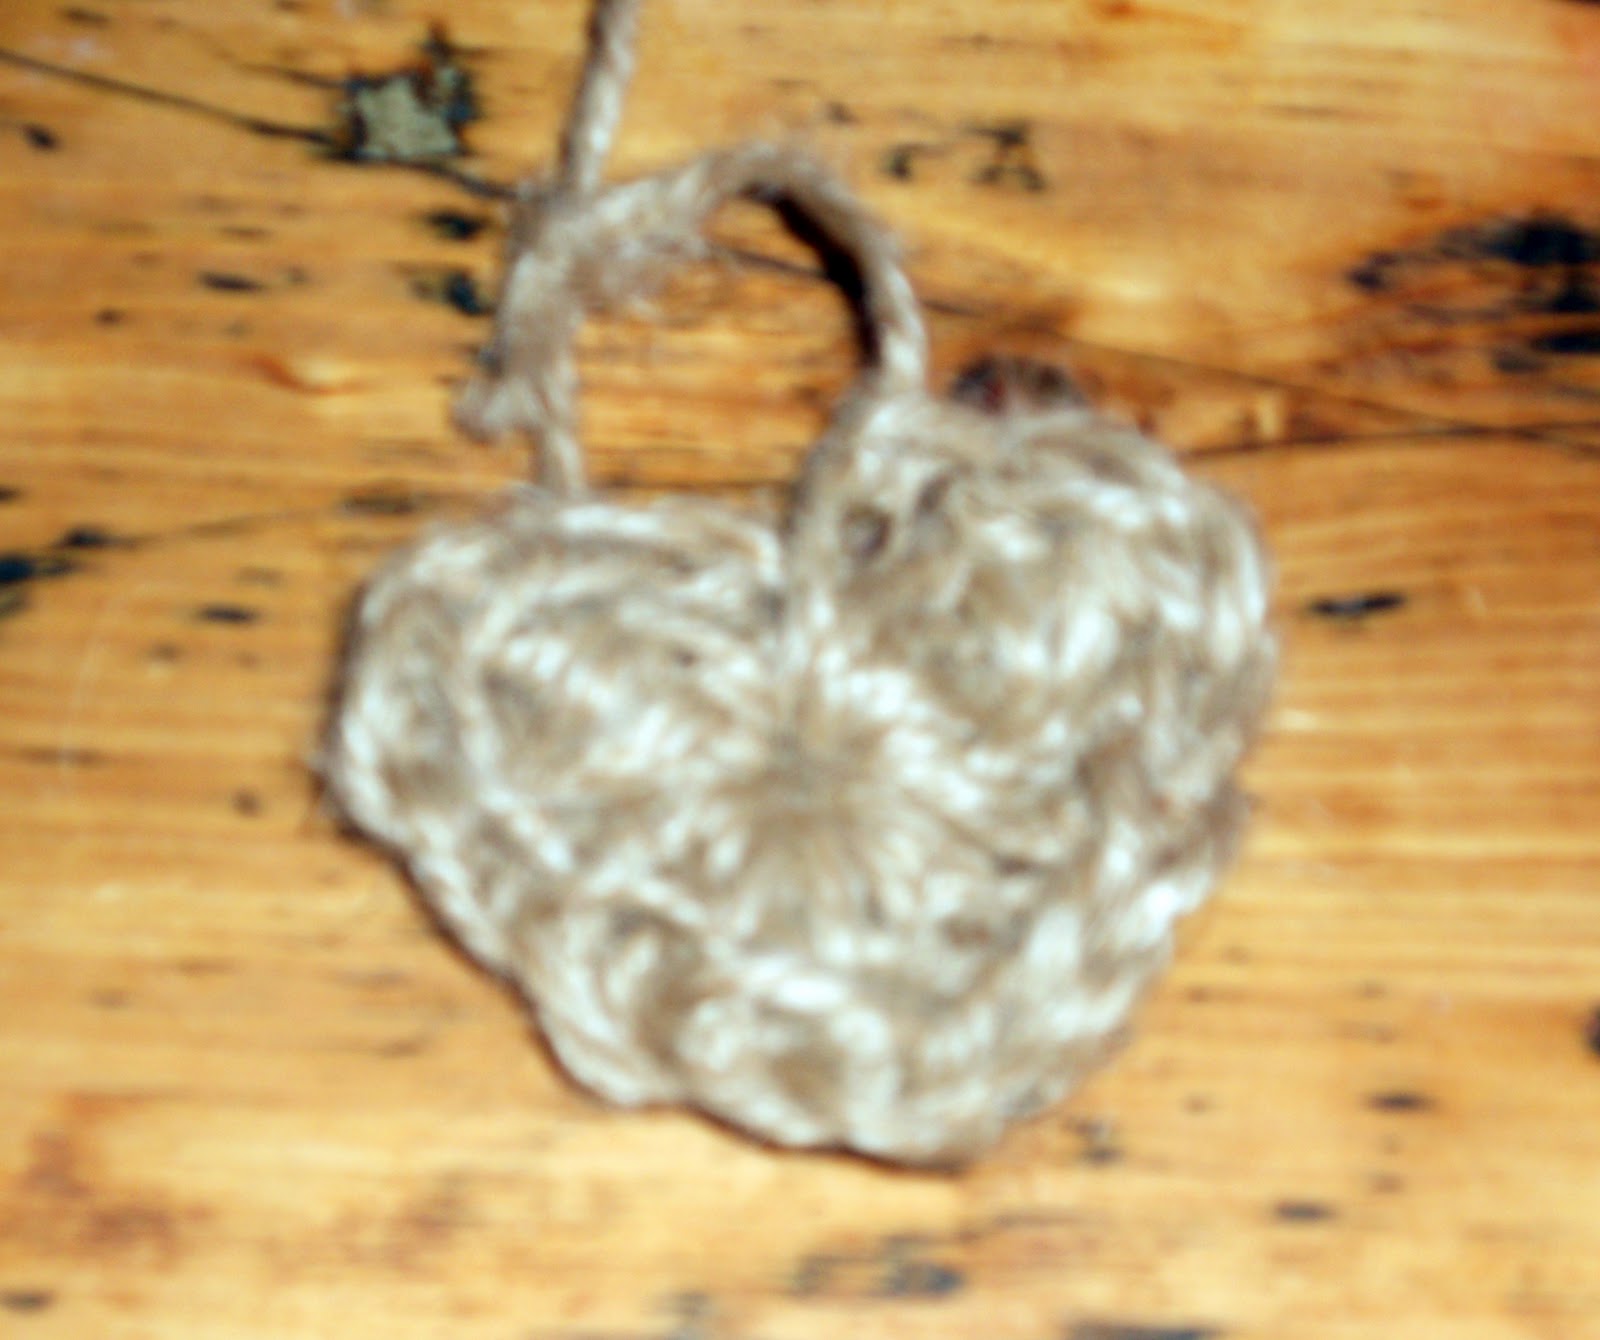
Fabric rosette's can be seen in many of my projects, I love them for decorating.  They can be used for so many things, hair clips, magnets, attached to pillows, headbands etc.  So here is how you make them:

I normally cut my fabric all into strips before hand but if you want to cut it as you go that is fine.  The strips need to be about 1 inch wide, and the length is dependent on how big you want your flower to be.  If you are cutting up a fat quarter of fabric you will get medium size flowers, but you can always add on another strip if you want to continue.   One fat quarter of fabric makes quite a few flowers as well :).

So you will need:

1.  1 inch strips of fabric
2.  hot glue gun

Optional
3.  Wire to make a stem, floral tape, wire cutters
4.  Hot Chocolate with Peppermint Marshmallows :)


1.  Start by folding your strip in half and placing a small amount of glue at the end to hold it. 
(You can iron the strip in half if you would like too)


2.  Now with the strip folded in half begin to roll the fabric up, but while you are rolling it twist and flip the fabric over to create the petals, you can do this randomly throughout the flower 
- until you get really good at rolling them you may want to glue it together every now and again b/c if you drop it you will have to start over :) 


3.  Once you are about 1 - 1 1/2 inches from the end of the strip, you can either glue the strip folded in half to the rosette and glue on another strip or open up the remaining "tail" to prepare it to glue to the back of the flower


4.  If you want your rosette to have a stem, cut a piece of wire twice as long as you want your stem, place some glue on the back of the rosette place the middle of the wire across the back of the flower and then fold the 1 inch overhang over the back of the flower to finish it.


5.  Once the glue has dried, fold the two halves of the wire up and twist.  If you wish for a neater finish wrap the wire in floral tape.  


Watch JoAnn fabrics for their $1 fat quarter sale! These make beautiful rustic bouquets!  As seen in my bedspring bud vases!

Tuesday, January 11, 2011

Is it spring yet? A cute bud vase!

I have been searching for something that would work as a bud vase in one of my springs.  I took a chance and ordered 2 vintage pyrex glass 50 ml centrifuge tube from Etsy seller trampoline (ethanollie) who specialize in vintage industrial pieces.  Well my risk was worth it because the tubes worked out better than I could ever dreamed!

bedspring, with centrifuge tube and rosettes.  Bow
is made from scrap lace tablecloth!

Watch for these, they will probably be joining my etsy shop!


Monday, January 10, 2011

Upcycled Lace Tablecloth Basket - Failure and Success!

I got this old lace tablecloth from the North Country Neighbors Flea Market for $5.00 b/c it has a small stain on it.  It was not worth throwing out this huge tablecloth for a small little stain.  So I wanted to try making a basket out of it.  


I found somewhere on the internet that a good replacement for fabric starch/stiffener was 2 tablespoons of cornstarch to 1 cup of water.  That is a big FAIL it did not stiffen the fabric at all.  So I went to the old standby of mostly glue (I used Aleene's Tacky Glue, but I'm going to try Elmer's next time its cheaper) with a little bit of water and mixed it until it was well combined.   I dunked my round piece of the tablecloth into the glue mixture and stirred it around a little and then layed it over and upside down bowl to give it shape.  Make sure you place wax paper or parchment paper underneath b/c it will drip a little bit.  As it dries you may want to adjust it so that it ends up in the proper shape. It took overnight and the next day to dry but I think it turned out lovely.


It is now on the coffee table in our living room and I have but the hearts I crochet in it.  I will be trying other projects with whats left of the tablecloth!

Friday, January 7, 2011

Bedspring Wreath in 2 Etsy Treasury lists in 2 days :)

My bedspring wreath is definately gaining popularity, it is in another treasury list titled Favorite eco friendly / upcycled / recycled / repurposed stuff by Etsy seller remakery, who makes hats and mittens out of upcycled sweaters!  Check it out!


♥ “The greatest treasures are those invisible to the eye but found by the heart.” ♥

Happy Weekend! I will have a few great projects to show next week, which may or may not include hearts :). For today, I created a felt heart garland. It was very easy, all the supplies that are needed are a few sheets of felt, embroidery thread, a needle and a heart template. I made a template out of some scrap card stock and then just traced out the hearts. I then cut them out and lined them up and did one cross-stitch on each side to link them together. I think it is adorable!


A great Valentine's Day decoration!

Thursday, January 6, 2011

My Bedspring Wreath featured in an Etsy Treasury List :)

I am so excited!!! My round bedspring wreath was featured in an Etsy treasury list, titled Better the Second Time Around created by Etsy user mondaymornings. This list features some great upcycled items.  Check it out and leave a comment and maybe just maybe it will make the Etsy home page!

♥ “The heart has reasons that reason cannot know.” - Blaise Pascal ♥

As promised I have continued on with my "heart" week and crocheted a few hearts out of scrap fabric, tshirt yarn and twine.  These little lovelies are very easy to create and also great rustic decorations.  I have fallen in love, they may have to stay up past Valentine's Day.

To crochet a heart:
1.  Chain 4

From this point on, all stitches go into the first chain stitch in the row.
2.  Do 3 triple crochets.
3.  Do 3 double crochets.
4.  Chain 1

Now Reverse, working your way around the first chain stitch.
5. Do 3 double crochets
6. Do 3 triple crochets
7.  Finish with a slip stitch and tie off

Any now you have a heart!  You can use whatever size needle or material that can be used as yarn.


A Rag Heart made of scrap heart fabric

T-shirt yarn heart

Hand-dyed t-shirt yarn heart

Twine Heart

Hearts on a Bedspring Wreath