Showing posts with label recycled flowers. Show all posts

Tuesday, January 8, 2013

Collapsible Pinwheels For Sale in my Etsy Shop!!!

I just listed my first creation in a long time for sale in my Etsy shop!

I have started to make my collapsible book page pinwheels/rosettes in many different patterns!  They are about 14 inches in diameter when opened and only 7 inches long and 1/2 inch thick when folded up.  This allows for easy, safe storage when they are not on display!!


Check them out!!

Wednesday, December 14, 2011

New Decoration Sets added to my Etsy Shop

I've added several great decoration sets that some of you probably have seen at shows before to my Etsy shop.

Check them out:


Sheet Music Pinwheels/Flowers with Wreath - $30
Just the Decoration Set - $10


Sheet Music Pinwheels/Flowers with Wreath - $30 
Just the Decoration Set - $10

Book Page Snowflakes with Pearl Centers with Wreath - $40
Just the Decoration Set - $20

If interested in any of the sets above and you are in the Massena, Canton, Potsdam area please send me an e-mail at themadrecycler@hotmail.com and we can arrange to meet up!

I will also be at the Christmas Vendor Market this Saturday, Dec 17th at the Old Phil's Florist Shop in Downtown Massena from 10 - 2 with a whole selection of decorations and wreaths.


Wednesday, December 7, 2011

Sparkly Recycled Soda Can Snowflake

I made a new set of decorations for my bed spring wreaths.  I previously posted about soda can snowflakes but I recently made a set of bluish ones out of Bud Light cans (yes i know how redneck of me, but they are a nice blue).  I then sprayed them with adhesive and sprinkled them with epsom salt.  After I sealed them with a regular clear sealer.  They sparkle and glisten like real snowflakes!


Labatts Blue Light cans look even better but I only had enough of those to make 1 set for a custom order! So Bud Light it will have to be!

This set along with several other new ones, not seen on the blog will be available this Friday and Saturday and the Craft, Food and Wine Show!  Stop by and check them out.  I am in the "Our Place" area upstairs at Cheel!


Tuesday, November 29, 2011

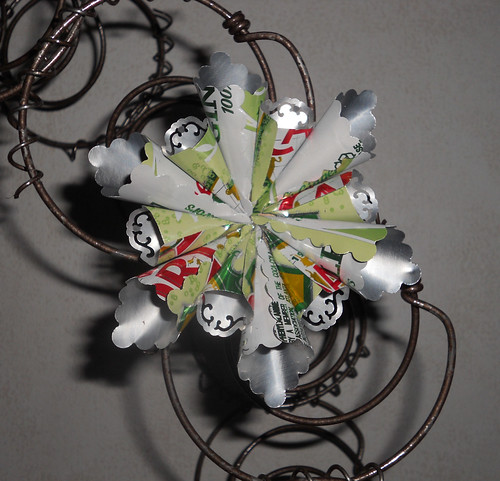
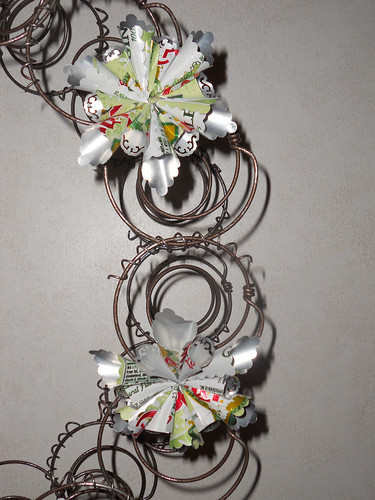
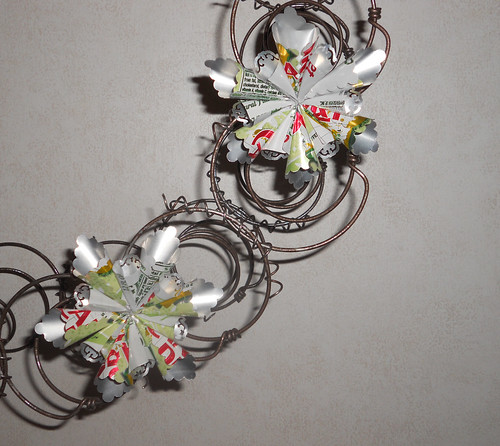
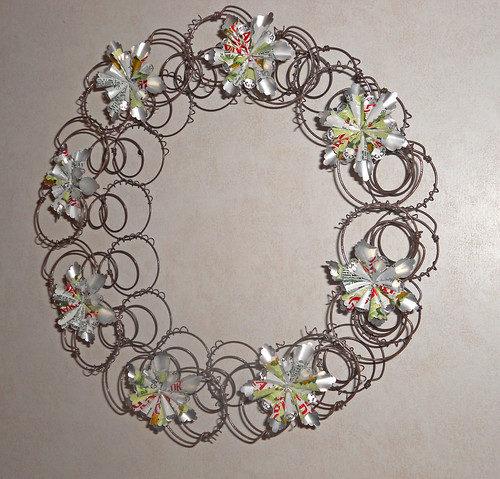
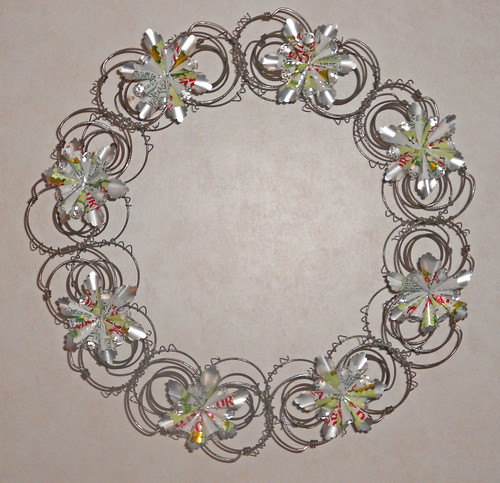
Recycled Canada Dry Can Snowflake Decoration Set

I had been trying to come up with a good snowflake design for the past month and finally altered one of my previously done flower designs to work as a snowflake and I think it turned out great!  I used canada dry diet ginger ale cans, since they have the most white on them and a little green and red for the Christmas season.  


This set along with other similar ones including a set made from teal and white Arizona cans will be for sale, this Saturday December 3rd from 10 - 2 in Massena at the Old Phil's Florist Shop, stop by and check them out in person, they are beautiful!

Wednesday, November 16, 2011

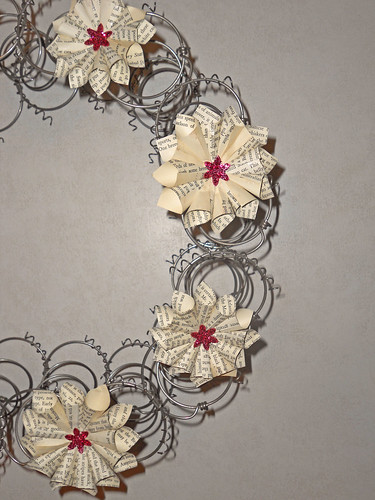
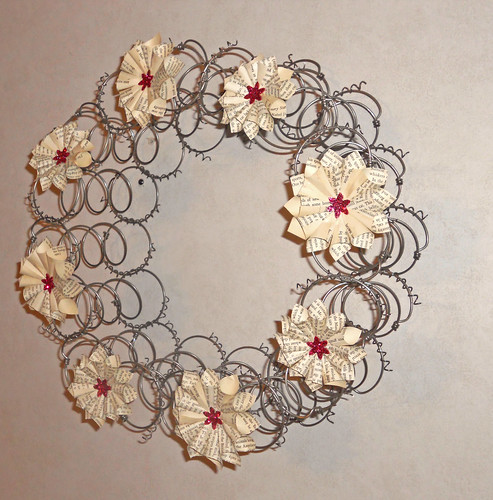
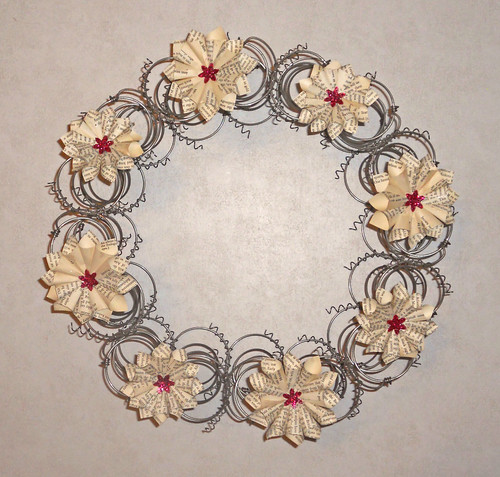
Bed Spring Wreath with Magnetic Book Page Flowers

Another Christmas Decoration Set, now available in my Etsy Shop.   Some of you may also remember this set from my last show!  Created from squares cut from an old book, featuring a center cut from a cereal box, painted and glittered.


Check back tomorrow for my first post on a Bed Spring Christmas Tree!  Down the road I also hope to provide a tutorial on how to make these lovely flowers, I just haven't had the time!

Wednesday, November 9, 2011

Recycled Soda Can Poinsettia Decoration Set


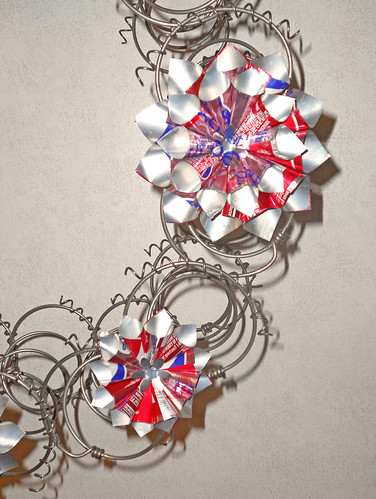
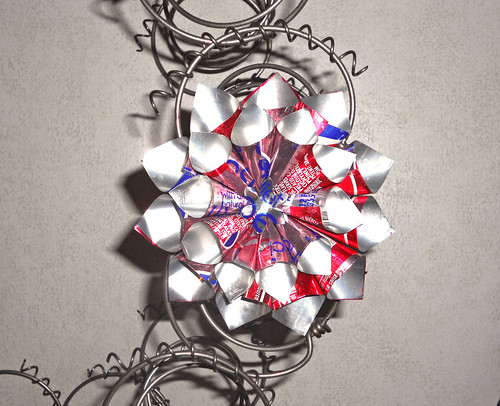
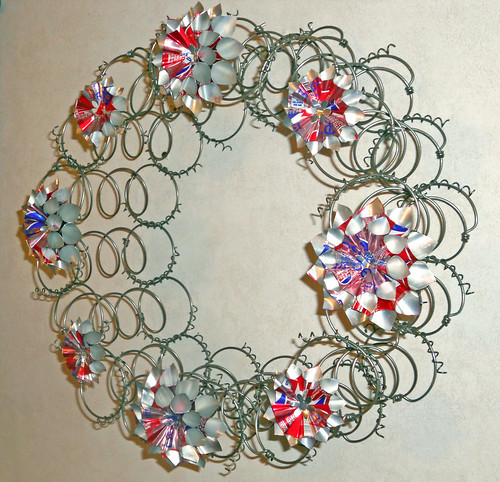
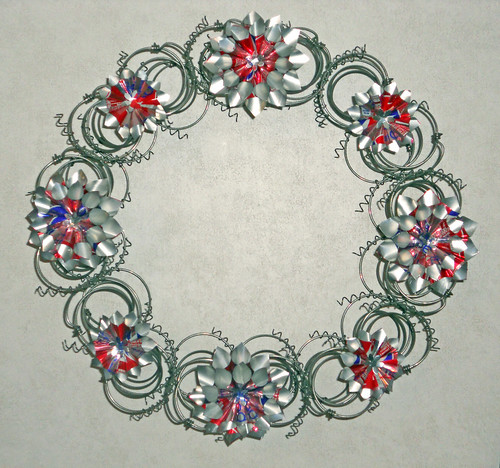
My first Christmas wreath of the season, similar to the Recycled Book Page Dahlias, except made out of Diet Cherry Pepsi Cans!  I made two different size flowers just so they don't overwhelm the wreath.  I hope to make a bunch more in this style, in several different colors throughout the seasons!


Enjoy!  Someday I might share this tutorial  right now I'm keeping it a secret b/c it is a lot of work :).  

Friday, October 28, 2011

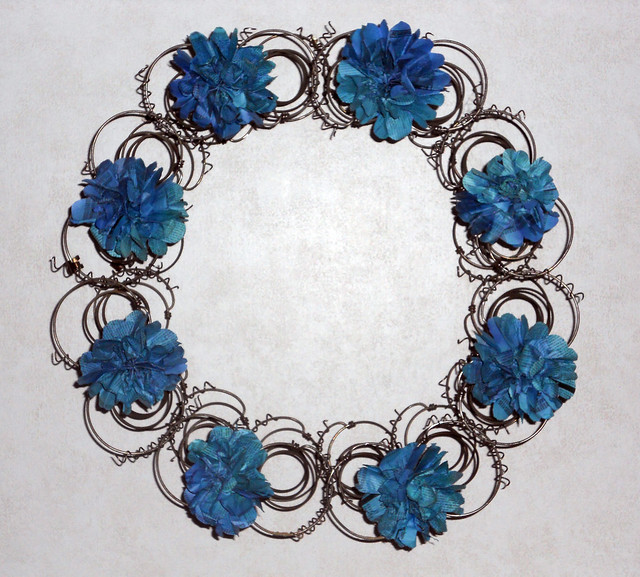
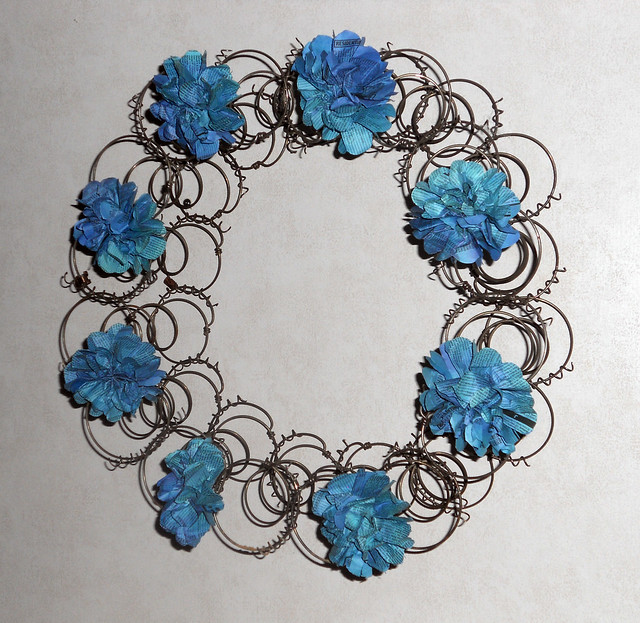
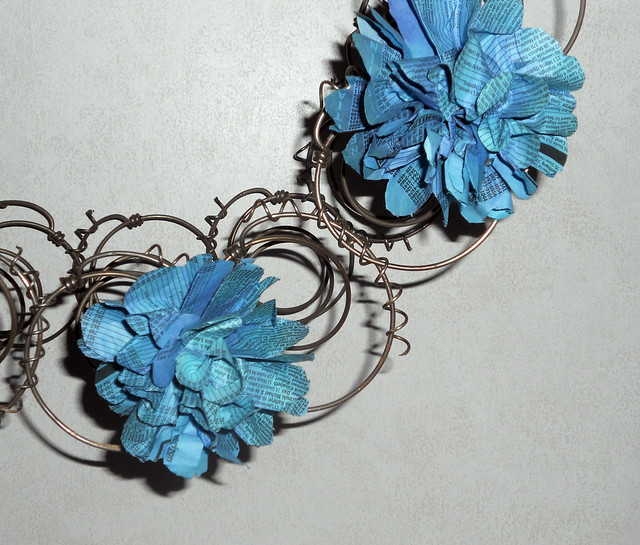
Blue Recycled Phonebook Hydrangea

Continuing on with my phonebook recycling mission, I made a set of vivid blue hydrangeas.  I used the Wilton Gel food coloring which gives a much deeper richer color than liquid food coloring.  


These and several other different colors of hydrangea decoration sets will be available at the Upcycled Art Show this Saturday October 29th in the Cheel Commons at Clarkson University!  Stop by and check them out in person!  They are AMAZING!

Tuesday, September 27, 2011

The Flower Mistake - Recycled Phonebook Flower

I apologize the pictures aren't that great of these, I was hurrying when I took them and not so thrilled with them anyways.  I wanted to make my recycled phonebook hydrangeas with a glittered edge for Thanksgiving and Christmas, but I forgot to cut the edge before I did the glittering so they didn't turn out quite right but of course I won't throw them out but work with them and I think they are kind of cute.  


Hopefully I will find time this week to make what I was really trying to do!  These were a mistake but I don't think that bad of one.

Friday, September 9, 2011

Creepy Dark Purple Recycled Phonebook Hydrangea

Remember the tutorial on How to create flowers out of phonebook pages?  Well I have been continuing to try dying the pages different colors.  I have found a new favorite!  For this creepy dark people blackish color, which looks much better in person.  I soaked the yellow pages in black food coloring.  I normally microwave the water/food coloring mixture for about 2 minutes and then add the water and let them sit for at least a half an hour.   The color looks amazing!  


Come check it out at the craft show tomorrow!  I will have this little mini bouquet for sale as well as a wreath decoration set!

Friday, September 2, 2011

Recycled Book Dahlia Wreath & Upcycled Art Show


This magnetic decoration set was made from recycled book pages.  Each flower includes 19 petals hand-cut and created from squares of old book pages.  The kraft brown centers are cut outs from a coca-cola box (yes again) and a tiny pearl from a broken strand of vintage pearls is glued in the center.  These are probably some of my most detailed flowers yet.  That is why I will be forced to charge $15 for this decoration set and it will be available at my next show Sept 10th for Massena Harvest Festival.


I am very proud to be curating the first annual Uniquely NNY Upcycled Art Show.  Along with my other site Uniquely NNY ,  I am searching for other upcycling/recycled artisans and crafters to be a part of the show.  The show is October 29th at Clarkson University Cheel Commons from 10 - 4.  It is $20 for a 10x10 booth.  For more information or to see what vendors are already signed up, visit http://www.uniquelynny.com/upcycled_show/.  This is sure to be a one of a kind show!

Wednesday, August 24, 2011

Wedding Wednesdays: Recycled Phonebook Hydrangea Centerpieces

Last week I showed a tutorial on how to create flowers out of pages from the phonebook.  This week I have taken it a step further, by dying the pages first and then cutting the edges to give them a more ragged appearance and the look of hydrangea.

Of course, I had to create them in my favorite color scheme of red and light blue.  I think they look so realistic.


To dye them just fold them up accordion style, and soak them in a mixture of hot water and food coloring. I soaked the entire sheet in the food coloring mixture but you could do it half in one color and half in another. I then patted them dry with paper towels and let them dry a bit before peeling them apart and letting the individual sheets dry then follow the tutorial instructions but don't put a center on them!


Enjoy!

Thursday, August 18, 2011

Recycled Phonebook Flowers with Tutorial :)

I hate the phonebook!  I think it is the biggest waste of paper (at least for my generation).  To make these flowers was the first time I've touched a phonebook in years.  When everything is so much easier to look up online why would you.  They should make getting the phonebook optional, so they don't waste so much paper!  To help limit the waste, I took last years phonebook, which was kicking around in the craft room b/c I knew I would find something to do with it and made these flowers:

The flowers have a soda can center that has been painted black, but they could also be decorated in so many other ways!

I also created a few with long stems and button centers :). 

And now the How To!

Supplies:

A phonebook or other thinner type paper (tissie, crepe, possibly even newspaper)
Green Floral Wire
Scissors


Step 1:  Rip three pages out of the phonebook

Step 2:  Stack the three pages together, accordian fold about 1/2 inch and then cut in half so you have 2 sections.  This will create 2 flowers.  


Step 3:  Take one of the halfs and wrap a long peice of wire around it to make the stem.

Step 4:  Carefully open up one half and pull apart the layers to fluff up one side.

Step 5.  Repeat the same for the other side.

Bubba wanted to help...he was feeling crafty!

Step 6.  Fluff up all the layers and shape into the flower.  Decorate the center as you see fit!

I will have the wreath decoration set and a bunch of individual stems this Sunday, June 21st at the Massena Chamber Car, Truck and Motorcycle show at Robert Moses State Park Picnic Area from 9 - 4.  Stop by and check them out as well as lots of other great creations new and old!

Thursday, August 11, 2011

Recycled Paper Towel Roll Flower Tutorial

The lovely finished product:


 The flowers are incredibly light and would make a nice decoration on a package instead of a bow!

Here's the how to:

What you need:

Scissors
Cardboard Paper Towel or Toilet Paper Roll
Glue Stick (I love Martha Stewart's, its super strong)
Clothespins


Step 1.  Flatten your cardboard roll and cut six strips all the same size.  The width of the strip will determine the height of the flower.  (I like about 1/2" or less)


Step 2: Using the glue stick, put glue on the bottom half of one of the strips and stick it to another strip then secure with clothespin until dry.


Step 2 should give you something like this.  Repeat Step 2 three times!


Step 3. Once you have the 3 "sets" of petals glue two sets together and secure with clothespin until dry!  Repeat the same step with the last set of petals.


Step 4:  Now you should have all six petals glued together and they just need to be connected.  So put some glue between the first and last petal, shape and secure with a clothespin.


The finished product, they are so easy to make it doesn't take long to make a bunch!


Feel free to decorate them however you want, I used a punch from sheet music and a little button :)


Enjoy!