Showing posts with label recycling. Show all posts
Tuesday, January 8, 2013
Collapsible Pinwheels For Sale in my Etsy Shop!!!
I just listed my first creation in a long time for sale in my Etsy shop!
I have started to make my collapsible book page pinwheels/rosettes in many different patterns! They are about 14 inches in diameter when opened and only 7 inches long and 1/2 inch thick when folded up. This allows for easy, safe storage when they are not on display!!
Check them out!!
I have started to make my collapsible book page pinwheels/rosettes in many different patterns! They are about 14 inches in diameter when opened and only 7 inches long and 1/2 inch thick when folded up. This allows for easy, safe storage when they are not on display!!
Check them out!!
Wednesday, October 31, 2012
A Thrift Store Find: C9 Christmas Lights - Thank You Best Friends!
Yes I know I have been really slacking on the blog posts but I hope to remedy that soon with some new exciting posts. To start with today I got a wonderful bargain on a box of C9 colored Christmas lights from Best Friend's thrift store in Potsdam. Those of you that don't know about this store, it is to benefit the Potsdam Animal Shelter. they do get some really interesting stuff too! Be sure to visit and like their Facebook page to receive updates on sales, free items and interesting new items. Anyways back to my bargain, without knowing how many were in the box or even if they worked I paid $3.00 for them all.
Upon going through the box initially expecting a huge mess of knotted up lights, I was pleasantly surprised. There were 14 strands varying length and all but 1 set worked. Now don't worry safety people I'm going to do a thorough check of all the strands before l use them for any projects. The one not working set may only need a new fuse. I really only wanted the lights for the stringers as a new c9 stringer runs anywhere from $12 - $15. Quite a few of the bulbs were out on some strands, but plan to replace the bulbs with clear c9 bulbs, possibly round ones and make something like this:

I found this wonderful tutorial on the Ruffled Wedding Blog for Vintage Marquee Lights! It seems easy enough and a could be a total upcycled project. Watch for my upcycled version of this tutorial using cardboard and cereal boxes!
I also got another great deal on 6 sets of plain white regular Christmas mini lights for a dollar and all of those sets worked. The BF even said I got a good deal! The c9 lights updated with clear bulbs and the mini lights will be gorgeous for a wedding and all for $4!
Friday, June 29, 2012
Pinterest Success: Recycled Star Jar Candleholder
Another Pinterest find that I just had to try. I had several small metal candle holders I had gotten probably over 10 years ago that have star cut outs that I just love. I had been trying to figure out a way to create my own and had a duh moment when I saw a pin that you just used the cheap foil star stickers on a jar (I used a pickle jar) and then spray paint over it. This is exactly what I did, I just used gold paint!
I just tied a piece of twine around the top for added decoration! If you are really a recycler like me, you can keep the star stickers after peeling them off and reuse them on your next jar!
Next time I may try to do a gold mercury glass feel!
Wednesday, June 20, 2012
Life on a Silver Platter - My Upcycled Chalkboard Platter
After seeing something similar in a Pottery Barn catalog well over a year ago, I have been biding my time and keeping my eyes open while at thrift stores, flea markets and garage sales for the perfect platter. I found this lovely large silver plated platter at North Country Neighbors in downtown Potsdam for only $10!
The platter was tarnished when I got it, but all it took was a little elbow grease with a polishing cloth and now it shines! All I did was paint a layer of white paint as a base in the center of the platter and then 3 layers of chalkboard paint. Then I glued a long piece of beautiful red rose scrap fabric, with super strong permanent glue and as of this morning it was still hanging on the wall!
It is hanging right next to my dining room table and will be a wonderful place to highlight holiday/birthday messages!
I love it so much I may have to head back and pick up one of the smaller platters to make another!
Wednesday, May 16, 2012
DIY Chicken Wire Frame Tutorial
I kept seeing this pin on Pinterest. Which was basically just a link to a photo, no instructions how to make it or anything like that. I have had an old frame kicking around the house from a friend. It originally had a broken corner, that I glued back together but I still couldn't figure out what I wanted to do with it.
Last night, I decided to attempt my own chicken wire frame. Basically I cut my chicken wire a little bigger than the hole in the frame (I was able to cut mine with scissors). If your chicken wire is in a roll like mine you will have to kind of pull and stretch it out to flatten it. Then secure with thumb tacks!
If you don't have a loop in the chicken wire you may want to wrap some of the excess around the tack.
Finally, secure whatever you would like to on it, using strong magnets or clothespins!
Check back later this week, I will have a tutorial on how to make the lovely little book page flower in the lower right hand corner!
Last night, I decided to attempt my own chicken wire frame. Basically I cut my chicken wire a little bigger than the hole in the frame (I was able to cut mine with scissors). If your chicken wire is in a roll like mine you will have to kind of pull and stretch it out to flatten it. Then secure with thumb tacks!
If you don't have a loop in the chicken wire you may want to wrap some of the excess around the tack.
Finally, secure whatever you would like to on it, using strong magnets or clothespins!
Check back later this week, I will have a tutorial on how to make the lovely little book page flower in the lower right hand corner!
Tuesday, March 27, 2012
Recycled Jack Daniel's Bow Headband Tutorial
My friend, Mandy and I are guest bar tending this Saturday, March 31st at The Ole Smokehouse in Madrid to benefit Relay for Life. The event starts at noon with different bar tenders every hour. It is a lot of fun, teams dress up and have themes and its for a great cause so if you can, stop by and check it out. Mandy and I are the last ones from 5 - 6.
Inspired by the challenge I created these Jack Daniel's Bow Headbands made from the box that the 4-pack comes in! I tried to use the Jack Daniels Aluminum bottles but they are just to thick to be bent into a bow.
Anyways this could be done with any cardboard or soda can box, such as Coca-cola or food boxes. You easily could cover the box with scrap book paper for a pretty design as well.
So here they are:
Supplies needed:
Cardboard boxes with design you like
Scissors
Clothespin
Glue
Headband (I was lucky I found some at walmart on clearance, 5 for $1)
Step 1: Cut a section of the box apart with the design you want on the front of the bow is in the center and double the size of the bow you want. Ex. If you want a 3" bow make sure you have 6" to work with.
Step 2: Cut a strip the width you want your bow. Make sure again the design you want on the front f your bow is centered.
Step 3: Gently fold over the two ends, centering your design on the front of the bow. You DO NOT want to put creases in the ends or your bow will be flat! You can put a dot of glue on the back to hold this as well, but its not necessary.
Step 4: Cut a strip long enough to wrap around your bow to make the center portion. Again make sure the design you want to appear on top is centered. In this case we want to see the words "Old No. 7".
Step 5: Fold small strip cut in step 5 over the bow and secure with glue and hold tightly with clothespin until dry.
Step 6: Once it is dry, glue it to the desired location on the headband and hold with clothespin until dry. I normally try to glue mine a little to the side.
Inspired by the challenge I created these Jack Daniel's Bow Headbands made from the box that the 4-pack comes in! I tried to use the Jack Daniels Aluminum bottles but they are just to thick to be bent into a bow.
Anyways this could be done with any cardboard or soda can box, such as Coca-cola or food boxes. You easily could cover the box with scrap book paper for a pretty design as well.
So here they are:
Supplies needed:
Cardboard boxes with design you like
Scissors
Clothespin
Glue
Headband (I was lucky I found some at walmart on clearance, 5 for $1)
Step 2: Cut a strip the width you want your bow. Make sure again the design you want on the front f your bow is centered.
Step 3: Gently fold over the two ends, centering your design on the front of the bow. You DO NOT want to put creases in the ends or your bow will be flat! You can put a dot of glue on the back to hold this as well, but its not necessary.
Step 4: Cut a strip long enough to wrap around your bow to make the center portion. Again make sure the design you want to appear on top is centered. In this case we want to see the words "Old No. 7".
Step 5: Fold small strip cut in step 5 over the bow and secure with glue and hold tightly with clothespin until dry.
Tuesday, January 10, 2012
New Recycled Book Page Banners Added to my Shop!
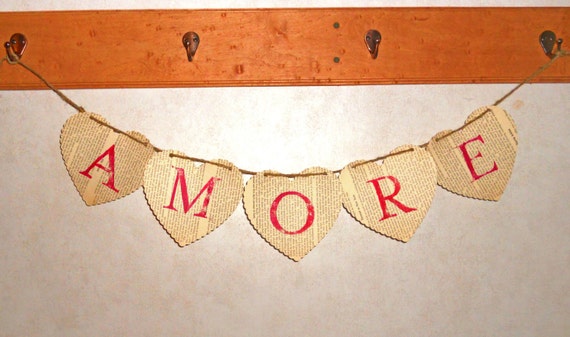
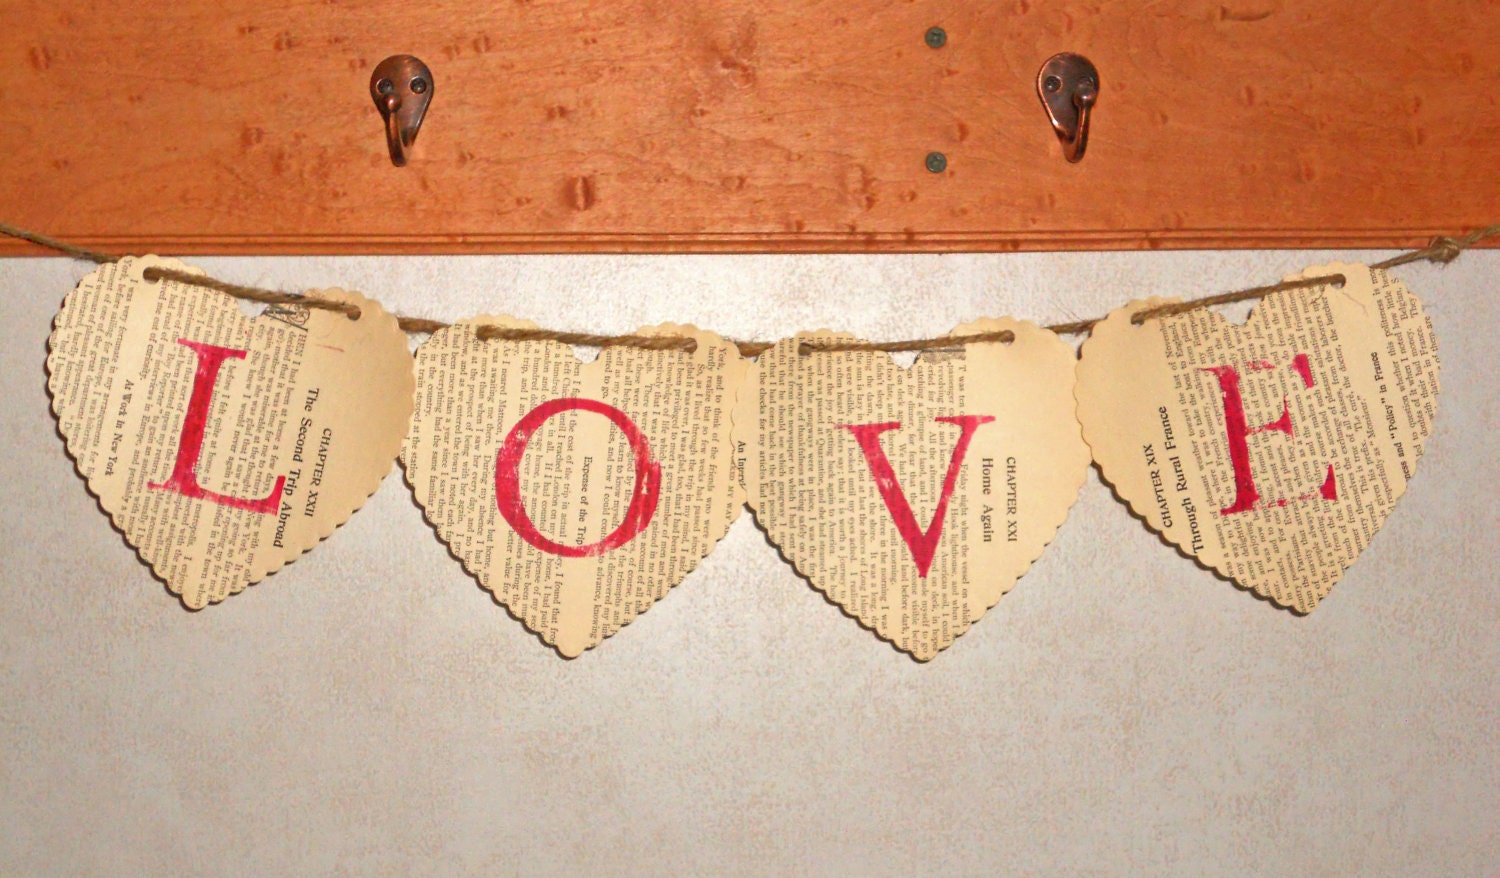
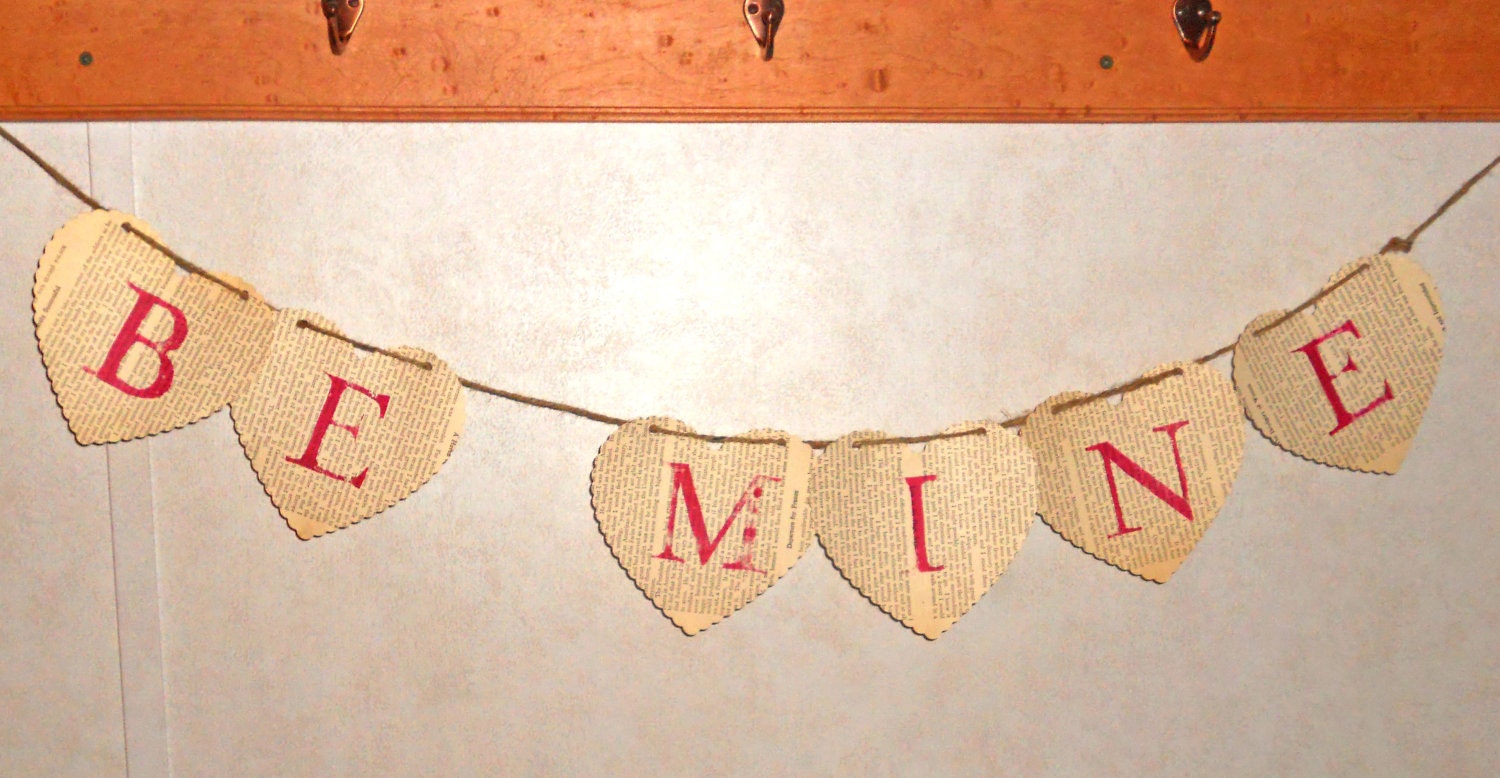
I got a wonderful set of scalloped heart dies for my Epic 6 Die Cutting Machine and the largest size heart is the perfect size for banners! So I made 3 this weekend to add to my shop! Hand-stamped in red and strung on twine, they are an adorable vintage style Valentine's Day decoration! Check them out!
"Amore" Banner - $10.00
"Love" Banner" - $8.00
"Be Mine" Banner - $12.00
I also do custom banners, in whatever color, saying or shape you would like for $2.00 a letter. That includes stringing it.
Enjoy!
Thursday, January 5, 2012
Dr. Pepper Rose Wreath at the Oddball Emporium
Today, I am dropping off a few wreaths to go on consignment at the Oddball Emporium in Potsdam. One of the decoration sets that will be available there are these cute Diet Dr. Pepper can roses! They are larger than my original roses b/c I am now creating them using my die cutting machine! Definitely a unique Valentine's decoration. Stop by the Oddball Emporium and check them out as well as a few of my other sets!
Wednesday, January 4, 2012
Die Cut Machine Soda Can Flowers
I started cutting soda cans with my Epic 6 Die Cutting machine before Christmas, but finally found the time to write a blog about it! Using the dies gives a more distinct look and greater size options than the hand punches. For today's tutorial, I am using a daisy style flower shaped dies from Lifestyle Crafts.
Supplies:
Die Cutting Machine (I use a Epic 6)
Cutting Mat
Flower Die Set
Soda Can
Scissors
Die Cutting Machine (I use a Epic 6)
Cutting Mat
Flower Die Set
Soda Can
Scissors
Step 1: Cut the top and bottom off of your can with the scissors cutting one the side of the can to leave one large rectangle.
Step 2: Arrange the dies you want to cut out on the cutting mat, make sure the arrangement is no larger than your can. I also added a thin piece of cardboard to my cutting matt to help it cut all the way through the can.
Step 3: Place soda can rectangle over top of the dies and then place the top of the cutting mat on top hold it together to make sure the dies don't slide!
Step 4: Send it through your die cutting machine! You may want to send it through twice especially if your dies have foam on them like mine.
Step 5: If necessary, carefully pop out flowers from soda can.
Tada! You should now have the layers for your flower. Glue them together to create the finished look. You may also choose to slightly curl the edges to give it a more 3D look!!
Tuesday, January 3, 2012
The Button Lantern
If you have been following my blog I'm sure you know how much I love buttons! I bet I have thousands in a rainbow of colors! I was cleaning out some cabinets after Christmas and found what I believe was originally a candle holder from party lite. It basically is two circular pieces of glass, one inside of the other and I think it came with paper scenes you could put in between for the seasons. I don't know what happened to the scenes but I decided to put some of my more colorful buttons in between the glass! I love how it turned out,
Watch you local thrift store, flea market or garage sale for 2 glass vases that will fit with enough room to spare to make your own!
Happy Crafting!
Wednesday, December 14, 2011
New Decoration Sets added to my Etsy Shop
I've added several great decoration sets that some of you probably have seen at shows before to my Etsy shop.
Check them out:
If interested in any of the sets above and you are in the Massena, Canton, Potsdam area please send me an e-mail at themadrecycler@hotmail.com and we can arrange to meet up!
I will also be at the Christmas Vendor Market this Saturday, Dec 17th at the Old Phil's Florist Shop in Downtown Massena from 10 - 2 with a whole selection of decorations and wreaths.
Check them out:
![]() |
| Sheet Music Pinwheels/Flowers with Wreath - $30 Just the Decoration Set - $10 |
![]() |
| Sheet Music Pinwheels/Flowers with Wreath - $30 Just the Decoration Set - $10 |
![]() |
| Book Page Snowflakes with Pearl Centers with Wreath - $40 Just the Decoration Set - $20 |
I will also be at the Christmas Vendor Market this Saturday, Dec 17th at the Old Phil's Florist Shop in Downtown Massena from 10 - 2 with a whole selection of decorations and wreaths.
Tuesday, December 13, 2011
Vintage Folding Ruler Star
A Big THANK YOU to everyone that stopped by and saw me at the Craft, Food and Wine show this weekend at Cheel Arena. I had a great time and got lots of great feedback!
Today I have to share this cute ruler star. I purchased this ruler for $3.00 at North Country Neighbor in Potsdam a while back and came across it while putting my christmas decorations out. I was trying to figure out a way to display it b/c it is aged wonderfully. So as I was unfolding it, I thought it would look neat as a star, and so it does!
It needs a little more decoration so I'm going to try to make something or maybe I will find something today at North Country Neighbors!
For my last show of the year, I will be at the Christmas Vendor Market at the Old Phil's Florist shop in Massena, this Saturday, Dec 17th from 10 - 2. Stop by for a unique gift!
Wednesday, December 7, 2011
Sparkly Recycled Soda Can Snowflake
I made a new set of decorations for my bed spring wreaths. I previously posted about soda can snowflakes but I recently made a set of bluish ones out of Bud Light cans (yes i know how redneck of me, but they are a nice blue). I then sprayed them with adhesive and sprinkled them with epsom salt. After I sealed them with a regular clear sealer. They sparkle and glisten like real snowflakes!
Labatts Blue Light cans look even better but I only had enough of those to make 1 set for a custom order! So Bud Light it will have to be!
This set along with several other new ones, not seen on the blog will be available this Friday and Saturday and the Craft, Food and Wine Show! Stop by and check them out. I am in the "Our Place" area upstairs at Cheel!
Labatts Blue Light cans look even better but I only had enough of those to make 1 set for a custom order! So Bud Light it will have to be!
This set along with several other new ones, not seen on the blog will be available this Friday and Saturday and the Craft, Food and Wine Show! Stop by and check them out. I am in the "Our Place" area upstairs at Cheel!
Tuesday, November 29, 2011
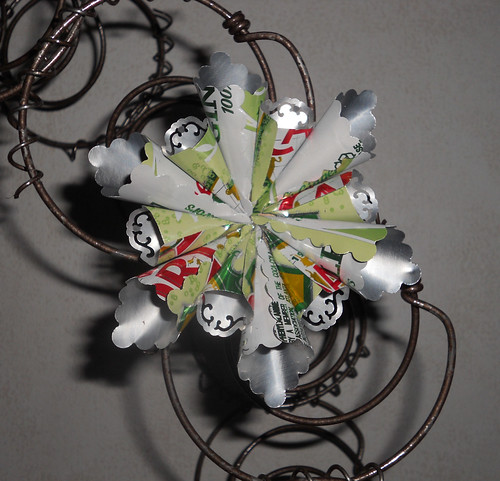
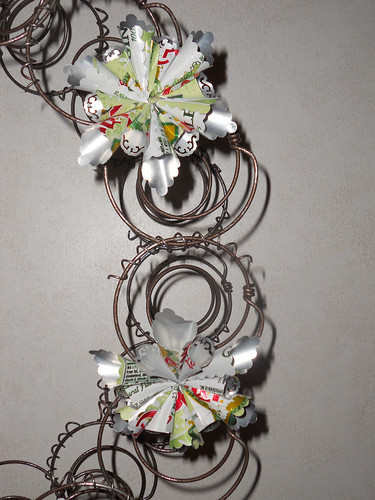
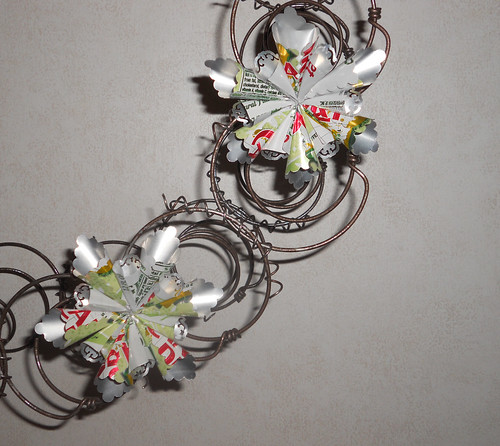
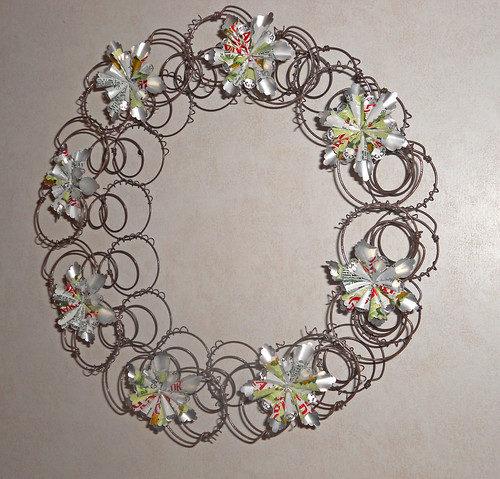
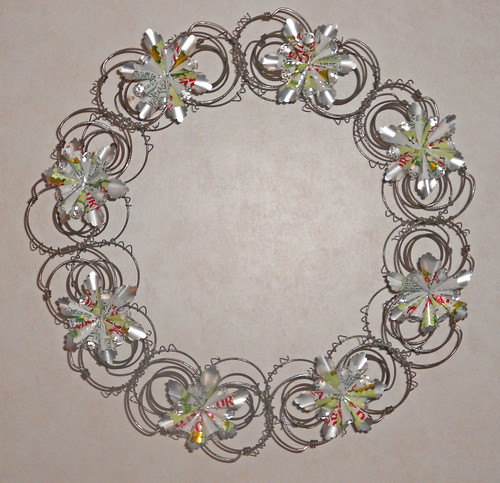
Recycled Canada Dry Can Snowflake Decoration Set
I had been trying to come up with a good snowflake design for the past month and finally altered one of my previously done flower designs to work as a snowflake and I think it turned out great! I used canada dry diet ginger ale cans, since they have the most white on them and a little green and red for the Christmas season.


This set along with other similar ones including a set made from teal and white Arizona cans will be for sale, this Saturday December 3rd from 10 - 2 in Massena at the Old Phil's Florist Shop, stop by and check them out in person, they are beautiful!
Friday, November 18, 2011
Recycled Soda Can Bow
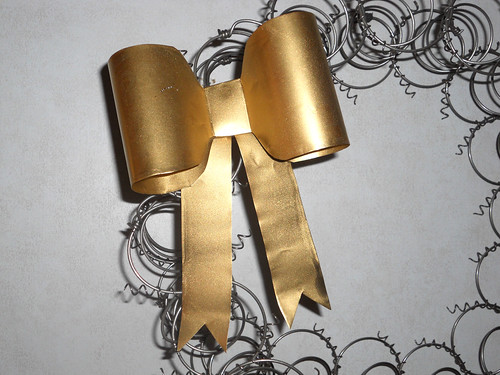
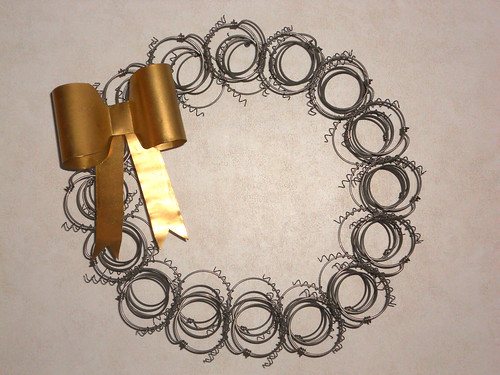
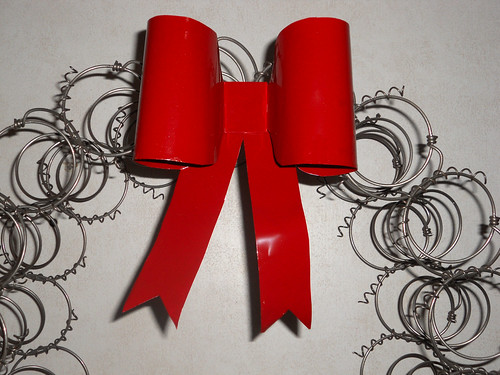
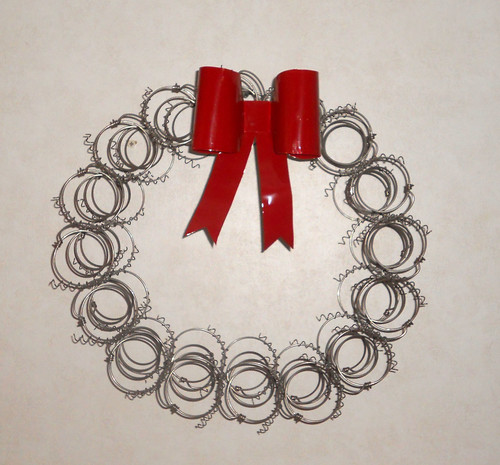
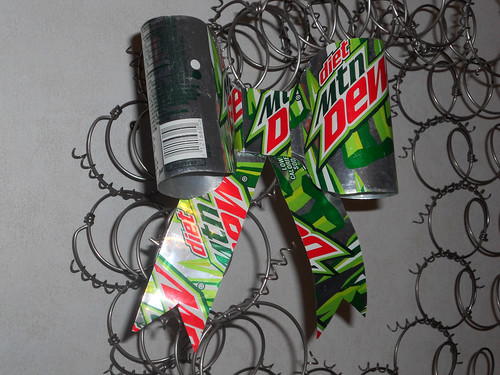
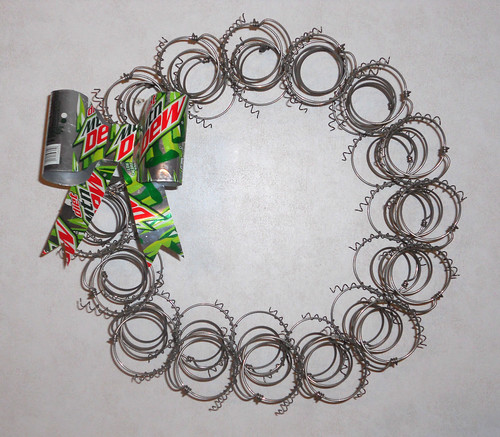
Nothing says Christmas Time more than a wreath with a big bow. I love the simplicity of the bed spring wreaths plain, but adding the bow adds a tough of holiday flare. Created from 3 soda cans, they are actually pretty easy to make and I hope to have time to write up the tutorial before christmas, basically each side of the bow is one can, that is rounded down on the ends and glued together in the middle. The ribbon ends that hang down are cut from another can as is the center piece to cover the section that is glued together. I then attached a magnet to the back so they will stick anywhere on the wreath!
This one I spray painted gold:


This one I spray painted a nice glossy red:


Lastly, this one I left un-painted:


I am currently gearing up for shows, as I have one every weekend until Christmas, please check my upcoming events if you want to find a unique christmas gift!
Subscribe to:
Posts (Atom)