Showing posts with label rosette. Show all posts

Wednesday, March 2, 2011

"Today you are You, that is truer than true. There is no one alive who is Youer than You" - Happy Birthday Dr. Suess! - Vintage Paper Rose Tutorial

I have received some requests as to how I made my vintage sheet music paper roses, as seen on my music note bedspring wreath:


 Here is the tutorial, it is very similar to my Recycled Soda Can Rose tutorial, but with some mod podge fun!


What you need:

1.  Soda Cans that have had the bottoms and tops cut off - see recycled rose can tutorial if you need more help
2.  scrap paper (can be just about anything I've used newspaper, stuff from magazines, comics, old books, etc)
3.  Mod Podge (you may want to put paper or a mat down on your work surface)
4.  Paper Punch (I use a seal punch you could use a petal)
5.  Paint Brush
6.  Scissors
7.  Wire
8. A Tack (and something same to press it into)
9. A large nail or a skewer to use to roll the petals.

Step 1.  Cut out from the soda can using the paper punch at least 2 shapes for each rose. 


Step 2: For each soda can piece, you will need two cut outs of the paper of your choice, I chose old sheet music.


Step 3:  Using an old paint brush, put mod podge kind of heavy on one side of the soda can cut out and line up the paper piece cut out over it and smooth it down and let it dry.  


Step 4:  If you didn't use a petal punch, you will have to cut your cutout into even "petals" and then using the tack poke two holes in the center to thread the wire through. 


Step 5:  Thread wire through the two holes on one cut-out and then on another.  Then using the nail or skewer , create your petals, by rolling each petal around the skewer or nail and shape it until you like it!


Friday, February 11, 2011

TGIF - Happy Weekend - Recycled Can Rose Magnets

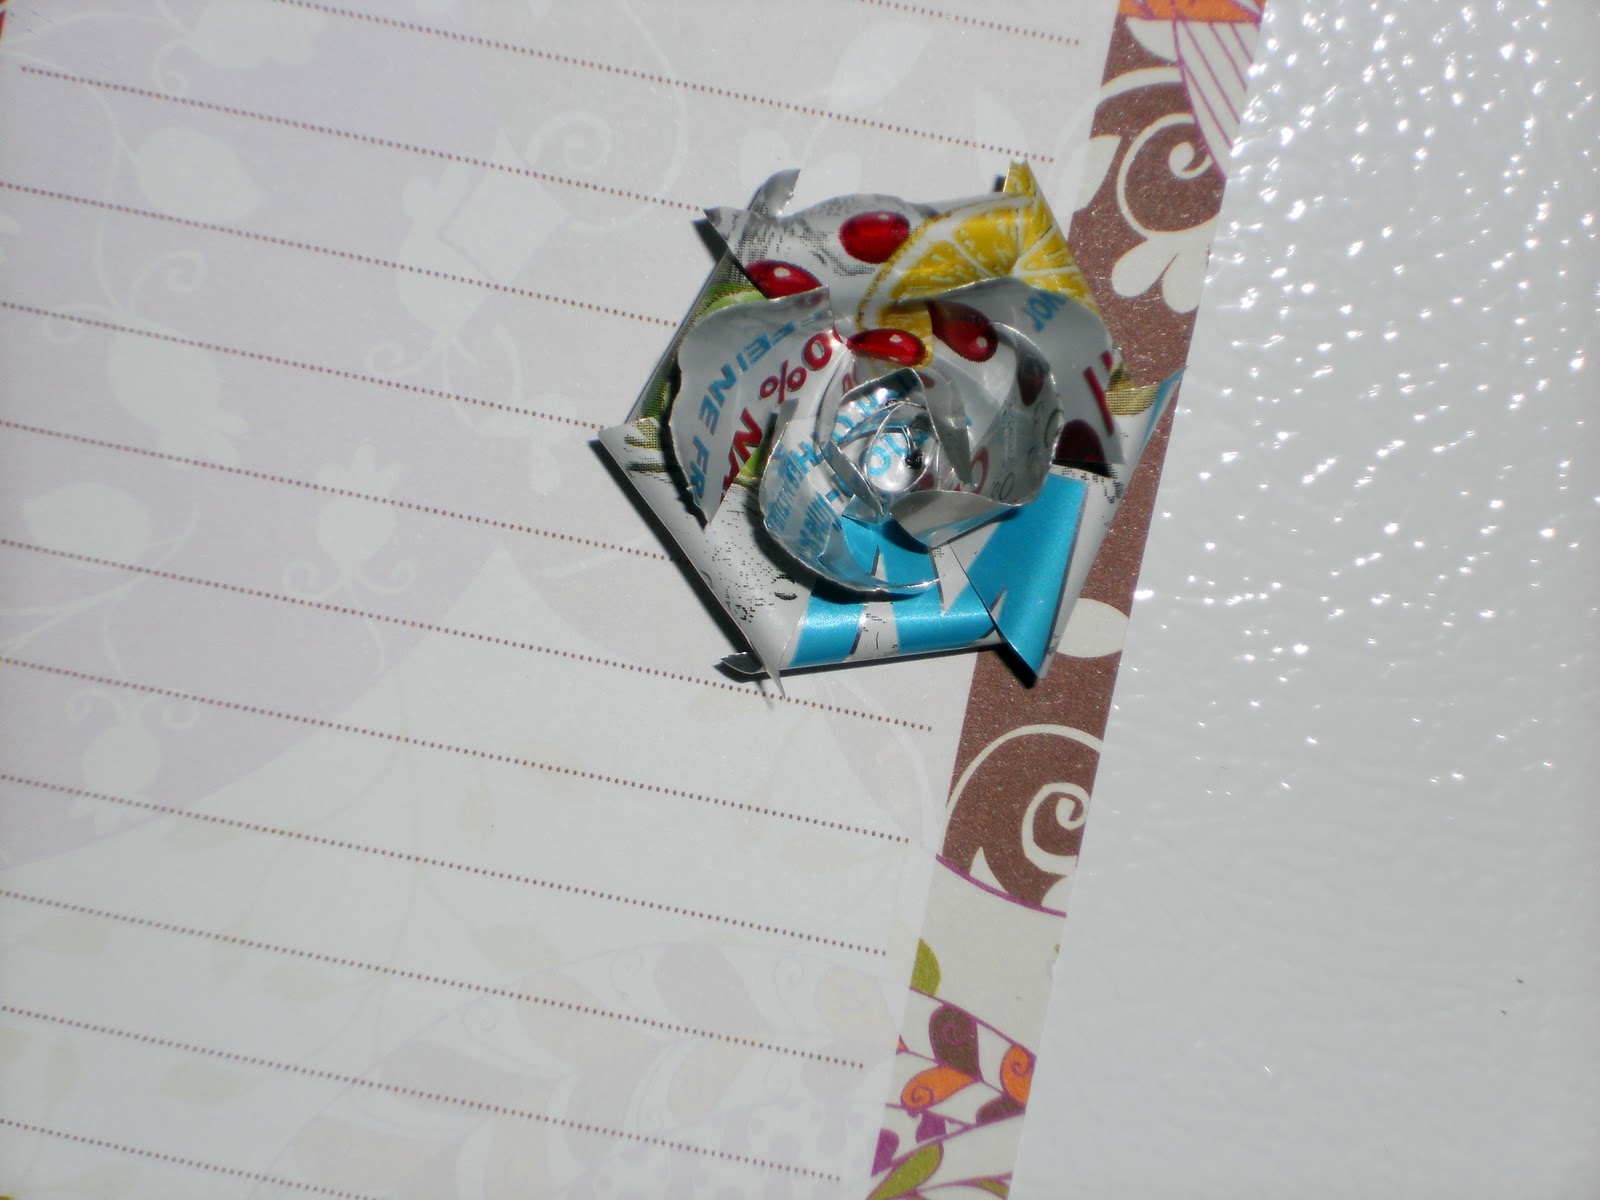
I am now always on the lookout for interesting cans that I could make into roses.  I found some Diet Cranberry Sierra Mist cans and loved the look of them as roses, so I made them into magnets, by coiling up the stem and hotglueing a round magnet to the back.  Check them out!


Tuesday, February 1, 2011

"It is better to fail in originality than to succeed in imitation" ~ Herman Melville - Upcycled Soda Can Rose Tutorial

I love a good recycling project, the only problem with this one is I live in NY and we can return our cans for 5 cents but when you can create something so cute out of them, who worries about 5 cents.  This is truly upcycling at its best from a 5 cent can, 2 - 3 soda can roses can be made, which in turn is creating something better out of something that could be thrown away!

Working at my normal workspace, our "coffee table" trunk in the living room, you will need:

- Clean, dry soda cans - preferably empty :), if not drink the soda first!
- Tin snips
- Scissors
- A Hammer
- A Nail
- A flower or round shape punch ( I'm using a seal punch b/c i like the scalloped edges and no shops around here had a flower, if you don't want to buy a punch you can always make a stencil out of cardboard, trace it and cut it out, this is a much longer process though)
- floral wire
- a scrap board


Step 1:  using the tin snips, cut the can in half


Step 2: Cut the top and the bottom off leaving a flat rectangular piece


Step 3: Using your punch, cut out the shapes from the rectangle (with my punch I can get anywhere from 5 - 8 cutouts per can)


Step 5: If you are using a non-flower punch, you will need to cut petals into it, so cut 5 or 6 cuts towards the center but do not disconnect.  Take the hammer and nail and on your scrap board put two holes in the center of each cut out.  


Step 5:  Cut a length of the floral wire, twice as long as you want your stem to be and run it through the 2 holes of 2 or 3 cutouts (depending on how big you want your rose), color side up works best too and then twist the wire tightly.  


Step 6:  Using the nail or a rounded pair of pliers, bring the first layer of petals up and round them to make the center of the flower


3.  For the next layer(s), bring every other petal to the top and round the edges using the nail or pliers, then round the remaining layers as well and you should be done!


Here are some of the decorations I have created with the soda can roses:


A banner created using the bottoms of larger bedsprings with a rose in every other small spring. 


I attached some roses to this bedspring wreath and painted the whole thing white.  If you do not like the look of the soda cans this method is wonderful b/c you would never know they were soda cans!


Friday, January 21, 2011

Upcycled Zipper Rosette - Brrrr it's going to be a cold weekend!

I haven't wanted to try these for so long!  I kept seeing flowers people made out of zippers and wanted to try my rosettes using a zipper.  The BF finally broke a zipper in his coat, so I ripped the old one out and took it to his grandma's to get replaced.  Check out the result!


The only difference from my original rosette tutorial is, i had to use a lot more hot glue to keep it together but I still thinks it neat, I'm going to make 2 more smaller ones out of the other half of the zipper and put them on a headband!

Wednesday, January 12, 2011

"Creative minds are rarely tidy" - Fabric Rosette Tutorial

I love the above quote, it describes my crafting chaos perfectly.

Fabric rosette's can be seen in many of my projects, I love them for decorating.  They can be used for so many things, hair clips, magnets, attached to pillows, headbands etc.  So here is how you make them:

I normally cut my fabric all into strips before hand but if you want to cut it as you go that is fine.  The strips need to be about 1 inch wide, and the length is dependent on how big you want your flower to be.  If you are cutting up a fat quarter of fabric you will get medium size flowers, but you can always add on another strip if you want to continue.   One fat quarter of fabric makes quite a few flowers as well :).

So you will need:

1.  1 inch strips of fabric
2.  hot glue gun

Optional
3.  Wire to make a stem, floral tape, wire cutters
4.  Hot Chocolate with Peppermint Marshmallows :)


1.  Start by folding your strip in half and placing a small amount of glue at the end to hold it. 
(You can iron the strip in half if you would like too)


2.  Now with the strip folded in half begin to roll the fabric up, but while you are rolling it twist and flip the fabric over to create the petals, you can do this randomly throughout the flower 
- until you get really good at rolling them you may want to glue it together every now and again b/c if you drop it you will have to start over :) 


3.  Once you are about 1 - 1 1/2 inches from the end of the strip, you can either glue the strip folded in half to the rosette and glue on another strip or open up the remaining "tail" to prepare it to glue to the back of the flower


4.  If you want your rosette to have a stem, cut a piece of wire twice as long as you want your stem, place some glue on the back of the rosette place the middle of the wire across the back of the flower and then fold the 1 inch overhang over the back of the flower to finish it.


5.  Once the glue has dried, fold the two halves of the wire up and twist.  If you wish for a neater finish wrap the wire in floral tape.  


Watch JoAnn fabrics for their $1 fat quarter sale! These make beautiful rustic bouquets!  As seen in my bedspring bud vases!

Tuesday, January 11, 2011

Is it spring yet? A cute bud vase!

I have been searching for something that would work as a bud vase in one of my springs.  I took a chance and ordered 2 vintage pyrex glass 50 ml centrifuge tube from Etsy seller trampoline (ethanollie) who specialize in vintage industrial pieces.  Well my risk was worth it because the tubes worked out better than I could ever dreamed!

bedspring, with centrifuge tube and rosettes.  Bow
is made from scrap lace tablecloth!

Watch for these, they will probably be joining my etsy shop!


Friday, November 19, 2010

♥ Upcycled Vintage Jewelry ♥

Remember the rhinestone jewelry I got at the flea market awhile back?  I finally created something out of it.  I have a wedding to attend this weekend and needed a little bling.  Big chunky rhinestone jewelry seems to be making a comeback, so what better than to find some old vintage jewelry and re-use it. 


So I created the rosette headband, using an old headband I had hanging around as well as some satin and some black netting.  I used the vintage earrings, just took the backs off them and hot glued them to the headband.  I didn't have the heart to tear them apart and they look very nice whole.  So total cost of the headband was $3.

I also created an elastic ruffled bracelet out of the brooch, again out of scraps, I am not sure how crazy I am about this but we'll see if I actually wear it.  The cost of the bracelet was $3.  

Lastly since it is only going to be in the 30s this weekend.  I made this ruffled scarf out of velvet and satin.  It is so soft and very luxurious looking and will definitely help keep me warm!  Have a good weekend everyone, I know I will!