Showing posts with label tutorial. Show all posts

Wednesday, May 16, 2012

DIY Chicken Wire Frame Tutorial

I kept seeing this pin on Pinterest.  Which was basically just a link to a photo, no instructions how to make it or anything like that.  I have had an old frame kicking around the house from a friend.  It originally had a broken corner, that I glued back together but I still couldn't figure out what I wanted to do with it.

Last night, I decided to attempt my own chicken wire frame.  Basically I cut my chicken wire a little bigger than the hole in the frame (I was able to cut mine with scissors).   If your chicken wire is in a roll like mine you will have to kind of pull and stretch it out to flatten it.  Then secure with thumb tacks!


If you don't have a loop in the chicken wire you may want to wrap some of the excess around the tack.

Finally, secure whatever you would like to on it, using strong magnets or clothespins!


Check back later this week, I will have a tutorial on how to make the lovely little book page flower in the lower right hand corner!

Wednesday, March 7, 2012

DIY Giant Whimsical Paper Flowers

I am not sure if I mentioned this in my previous blogs, but I am maid of honor in 2 weddings this spring and I have truly enjoyed being able to put my crafty side to work creating again.  Not that I don't enjoy bed springs and recycling, but sometimes you just need to do something different.

I originally found this tutorial on Pinterest, the pin was from the Design Sponge website but the flowers were created by Ruche.  Which if you are in love with all things vintage and have never been to Ruche, check it out they have beautiful clothes and decorative items. It is one of my favs!

Anyways so I followed the tutorial, but have a few notes on how I altered it for my creations.

1.  When you are filling your cups with the cement make sure you have at least 3/4 of a cup, this will make them strong enough to hold up taller flowers.  My current ones are about 1/2 a cup and definitely won't hold flowers any taller than the ones I'm showing (about 4' tall).   I had to have a quick lesson from the BF in how to use quickcrete and strongly suggest before putting any cement powder in your cups add a tiny bit of water to the bottom, it definitely helps in the mixing process.

2.  Instead of using stucco corner, I used chicken wire, which we had out in the barn (so I guess this is an element of recycling)  It worked great and I didn't have to wire it closed I just bent it to the stem shape and taped it with masking tape.

3.  Lastly, my flower tops are different b/c I attempt to make one like theirs and failed!  Well not completely, but I didn't like the end result.   It is very difficult to tape the flowers together b/c tape and tissue paper do not work well together.  If it sticks, it rips!  So I decided to use five sheets of tissue paper and create blossoms like I used in my phone book flowers.  So much easier and created giant blooms!  I also made the wire "stem" of my flower long enough that I just stick it in the large chicken wire stem and cover it, no zip ties needed.

4.  For my centers, I took a darker purple tissue paper and cut it up with my fringe scissors, sprayed the centers with spray glue and dropped it on!  Spray glue may also be a good option for glueing the green tissue paper to the masking tape, as using plain white glue is very time consuming.

The finished result:


They remind me of the giant singing flowers from Alice in Wonderland, while the BF says the remind him of the flowers that come up through the pipes on Super Mario.  Either way excellent bridal shower, wedding or even to decorate your little girl's room!

Enjoy!

Tuesday, November 8, 2011

Recycled Cereal Box Star Tutorial

A lot of you must remember the Sheet Music Star Decoration Set from last week, well here is the tutorial on how to make your own recycled stars.


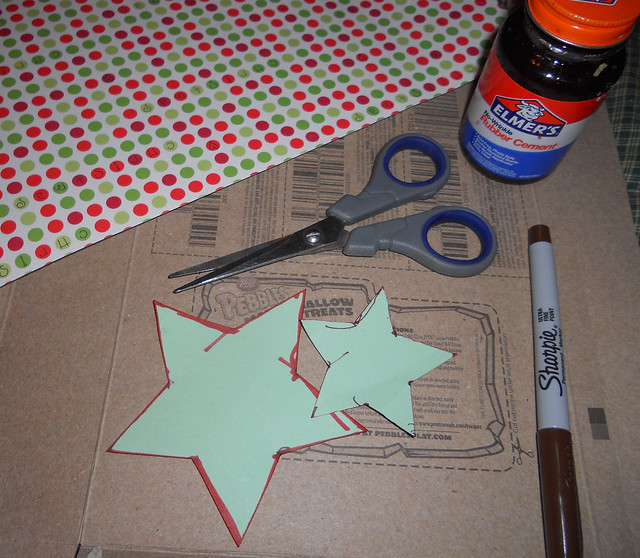
Supplies:
Cereal Box or other food box (soda can boxes work great too)
Decorative Paper (Scrapbook paper, sheet music, the funny pages from the newspaper)
Scissors
Glue
Butter Knife
Marker
Star Templates (I used http://familyfun.go.com/printables/printable-star-pattern-703380/ and printed them on cardstock)


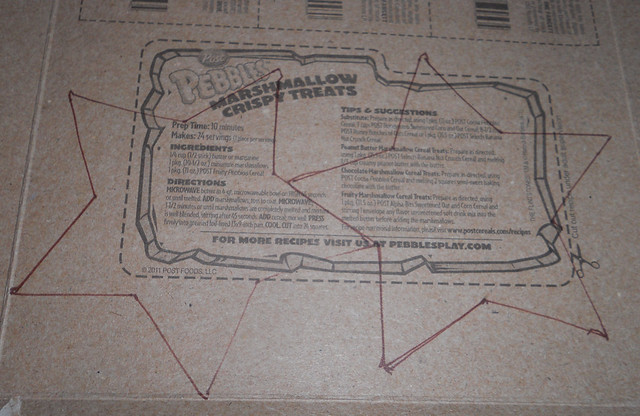
Step 1: Trace your start template on the back side of your cereal box. Cut out your star.


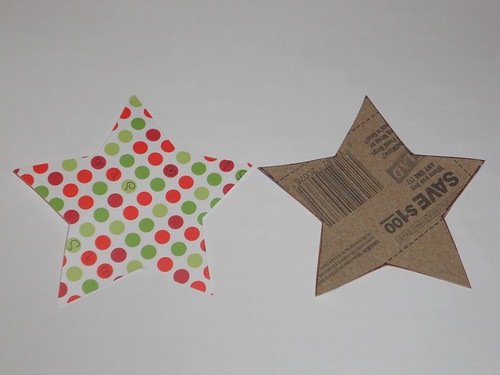
Step 2:  Trace the star you just cut out onto the back of your decorative paper and cut out.


Step 3:  Glue your decorative star to the backside of your cereal box star.  You may need to do a bit of trimming with the scissors an exacto knife to neaten up the stars edges.

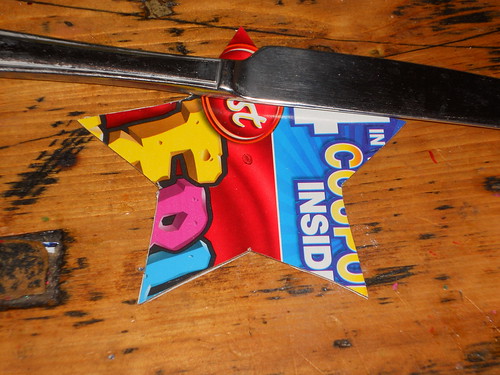
Step 4:  On the cereal box side of the star (the back side) mark the center of the star with a marker. (it just needs to be approximate).  Get your butter knife ready!


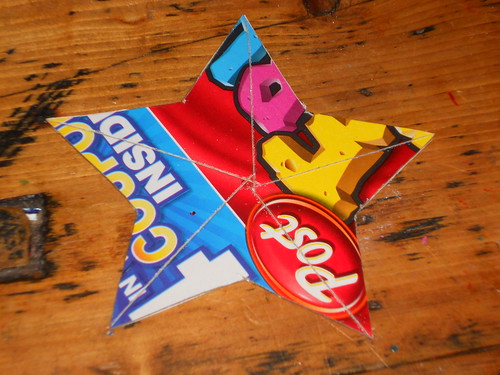
Step 5:  On the back side of your star, using your butter knife, score a line from the point of each star to the center point.  You should do this 5 times, try to be as exact as possible.  The score line is going to be wear your fold your stars. It should look like this: 


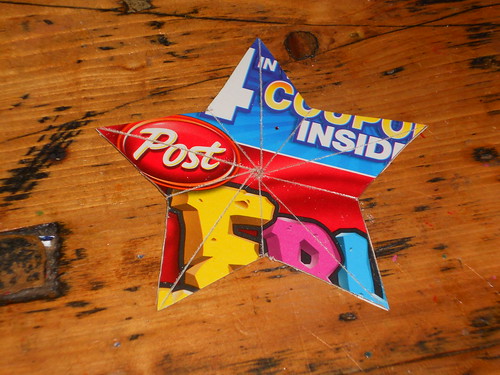
Step 6:  Repeat the above process but do it from the angle in between the star points to the center.  This step should leave the back of your star looking like this: 


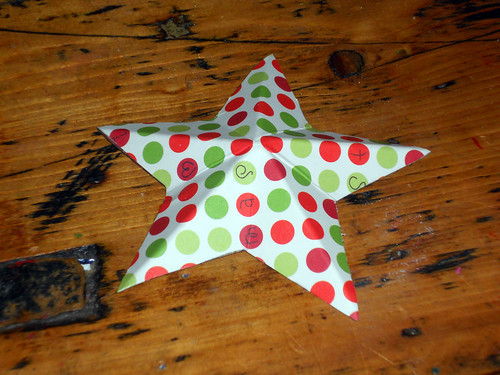
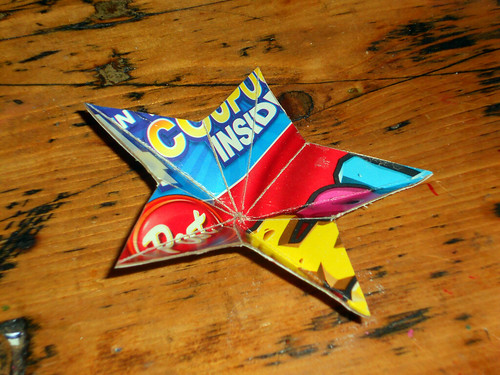
Step 7:  The final step!  Carefully fold each star point on the score line with the decorative side up, to get the 3D look and then fold each crease on the score line in between the star on the cereal box side to make it even more 3D!  The front of your star should look like our first image and the back side of the star should look like this: 


Give it a try!

Happy Crafting!