

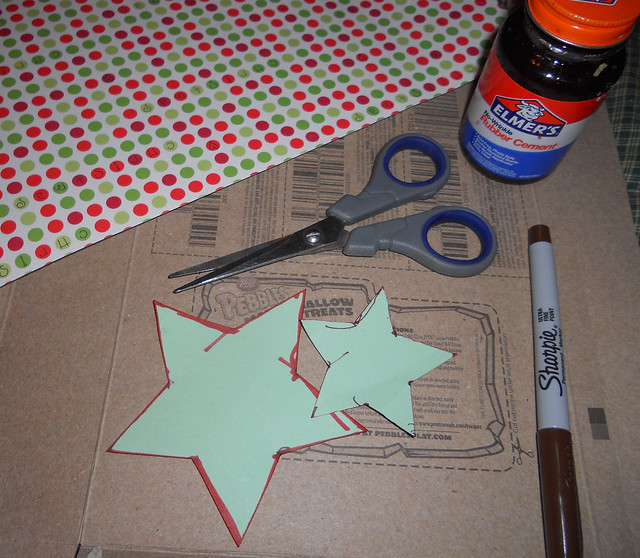
Supplies:
Cereal Box or other food box (soda can boxes work great too)
Decorative Paper (Scrapbook paper, sheet music, the funny pages from the newspaper)
Scissors
Glue
Butter Knife
Marker
Star Templates (I used http://familyfun.go.com/printables/printable-star-pattern-703380/ and printed them on cardstock)
Step 1: Trace your start template on the back side of your cereal box. Cut out your star.
Step 2: Trace the star you just cut out onto the back of your decorative paper and cut out.
Step 3: Glue your decorative star to the backside of your cereal box star. You may need to do a bit of trimming with the scissors an exacto knife to neaten up the stars edges.
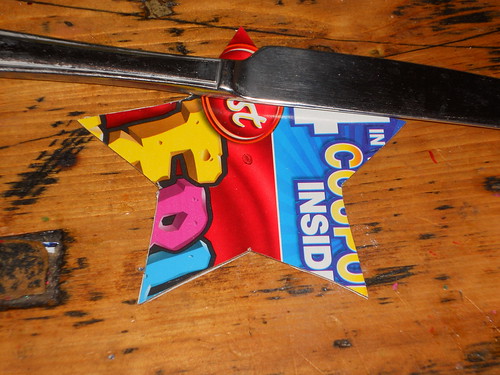
Step 4: On the cereal box side of the star (the back side) mark the center of the star with a marker. (it just needs to be approximate). Get your butter knife ready!
Step 4: On the cereal box side of the star (the back side) mark the center of the star with a marker. (it just needs to be approximate). Get your butter knife ready!
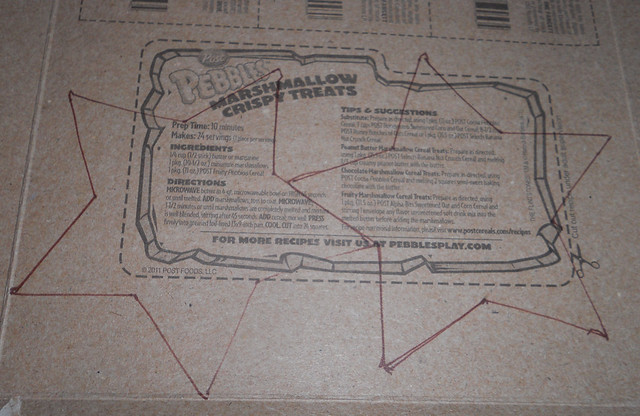
Step 5: On the back side of your star, using your butter knife, score a line from the point of each star to the center point. You should do this 5 times, try to be as exact as possible. The score line is going to be wear your fold your stars. It should look like this:

Step 6: Repeat the above process but do it from the angle in between the star points to the center. This step should leave the back of your star looking like this:
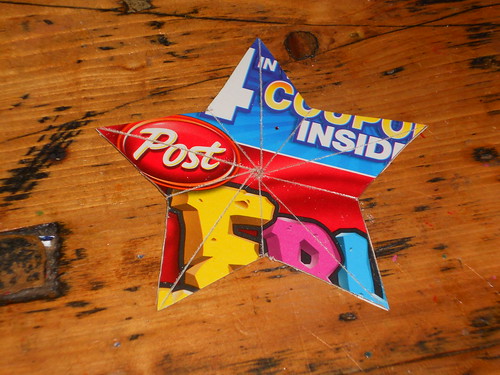
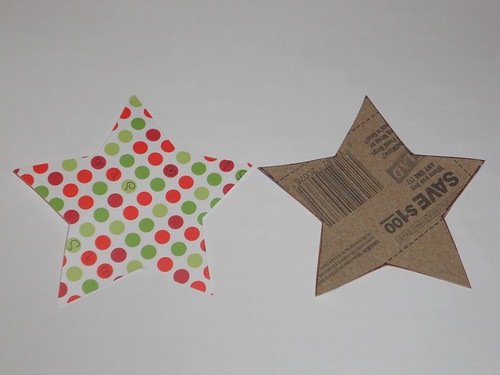
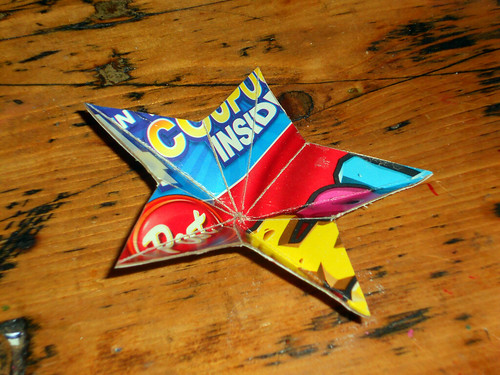
Step 7: The final step! Carefully fold each star point on the score line with the decorative side up, to get the 3D look and then fold each crease on the score line in between the star on the cereal box side to make it even more 3D! The front of your star should look like our first image and the back side of the star should look like this:
Give it a try!
Happy Crafting!
Sweet! I'm going to try it!
ReplyDelete