I just listed my first creation in a long time for sale in my Etsy shop!
I have started to make my collapsible book page pinwheels/rosettes in many different patterns! They are about 14 inches in diameter when opened and only 7 inches long and 1/2 inch thick when folded up. This allows for easy, safe storage when they are not on display!!
Check them out!!
Showing posts with label upcycling. Show all posts
Tuesday, January 8, 2013
Thursday, January 3, 2013
Flea Market Find: Vintage Jelly Jars & Bed Springs
With nothing better to do on lunch yesterday I ventured down to one of my favorite local shops, North Country Neighbors. Not really searching for anything in particular, I had been on the look out for vintage jelly jars for at least a year and I finally found a set. I got a set of 4 for $3.00. I had seen them on Etsy, but the cheapest was $8 for a set of 4 with normally $10 shipping. It just didn't seem worth it to me and I knew they would pop up somewhere eventually.
The reason I wanted them so bad, is they fit perfectly inside a bedspring!
The uses are endless!
A cute vase....
or an interesting candle holder...
I am hoping to post more and more, so be prepared. I think I am back in recycling mode :)
The reason I wanted them so bad, is they fit perfectly inside a bedspring!
The uses are endless!
A cute vase....
or an interesting candle holder...
I am hoping to post more and more, so be prepared. I think I am back in recycling mode :)
Labels:
bed springs,
bedsprings,
flea market find,
upcycling
Wednesday, October 31, 2012
A Thrift Store Find: C9 Christmas Lights - Thank You Best Friends!
Yes I know I have been really slacking on the blog posts but I hope to remedy that soon with some new exciting posts. To start with today I got a wonderful bargain on a box of C9 colored Christmas lights from Best Friend's thrift store in Potsdam. Those of you that don't know about this store, it is to benefit the Potsdam Animal Shelter. they do get some really interesting stuff too! Be sure to visit and like their Facebook page to receive updates on sales, free items and interesting new items. Anyways back to my bargain, without knowing how many were in the box or even if they worked I paid $3.00 for them all.
Upon going through the box initially expecting a huge mess of knotted up lights, I was pleasantly surprised. There were 14 strands varying length and all but 1 set worked. Now don't worry safety people I'm going to do a thorough check of all the strands before l use them for any projects. The one not working set may only need a new fuse. I really only wanted the lights for the stringers as a new c9 stringer runs anywhere from $12 - $15. Quite a few of the bulbs were out on some strands, but plan to replace the bulbs with clear c9 bulbs, possibly round ones and make something like this:
I found this wonderful tutorial on the Ruffled Wedding Blog for Vintage Marquee Lights! It seems easy enough and a could be a total upcycled project. Watch for my upcycled version of this tutorial using cardboard and cereal boxes!
I also got another great deal on 6 sets of plain white regular Christmas mini lights for a dollar and all of those sets worked. The BF even said I got a good deal! The c9 lights updated with clear bulbs and the mini lights will be gorgeous for a wedding and all for $4!
Wednesday, June 20, 2012
Life on a Silver Platter - My Upcycled Chalkboard Platter
After seeing something similar in a Pottery Barn catalog well over a year ago, I have been biding my time and keeping my eyes open while at thrift stores, flea markets and garage sales for the perfect platter. I found this lovely large silver plated platter at North Country Neighbors in downtown Potsdam for only $10!
The platter was tarnished when I got it, but all it took was a little elbow grease with a polishing cloth and now it shines! All I did was paint a layer of white paint as a base in the center of the platter and then 3 layers of chalkboard paint. Then I glued a long piece of beautiful red rose scrap fabric, with super strong permanent glue and as of this morning it was still hanging on the wall!
It is hanging right next to my dining room table and will be a wonderful place to highlight holiday/birthday messages!
I love it so much I may have to head back and pick up one of the smaller platters to make another!
Tuesday, July 19, 2011
Upcycled Door Corner Display - Round 2
Sorry I took yesterday off from blogging to go with a good friend wedding dress shopping!
Anyways, I continued to work on my upcycled door corner display this weekend. I ordered a brass door plate off of Etsy for $2.95 and got a porcelain door knob for $2.00 at North Country Neighbors. If you notice the door is actually upside down, but I think it adds to the fun!
Instead of using magnets, since I can't decide whether I want to paint it or not I am attaching the pictures and cards using sticky tack. I also got some antique bronze chain and attached some chandelier crystals, skeleton keys and an old brass lock I found at North Country Neighbors to hang over the knob. I am thinking of doing some more projects with the chandelier crystals.
It's a great and easy way to display pictures!
Tuesday, July 12, 2011
Upcycled Door Corner Display
A friend of mine recently purchased a house and found this old door in it. She was going to take it to the dump, but I told her I wanted it. It is a solid pine door that was stained on one side. It is beat up but for me that just adds character. I have not totally committed as to what the final result of this will be but basically what I wanted was somewhere to display more pictures as we have limited wall space.
So I cut the door in half myself. Yes this was my first time using a power saw and I did great, not even remotely as scary as I thought it would be. The BF gave me some basic safety instructions and helped me but I did it . I definitely see more power tools in my future. Anyways using the hinges the came with it, I reattached them using the existing screws to make the door fold into a 90 degree angle so it fits very nicely into the corner. I took off the old door knob and I am going to replace it with an old porcelain one I found at the local flea market for $4.00 after I find a door plate for it.
I haven't decided yet how I want to finish it. My original thought was shelves but I am not so sure anymore. Now I am kind of thinking making parts of it or the whole thing magnetic so I can just stick pictures and other things to it, that way it would be really easy to change. I am not sure if I want to use recycled cookie sheets to make it magnetic or use magnetic primer and then paint it a color.
![]() |
| Please forgive the pile of dog toys and stuff in the bottom of this picture, my dogs are spoiled :) |
Check back soon to see how I finished my door display.
Don't forget I will be at the Taste of the North Country Craft Show on Cheel Lawn at Clarkson University from 1 pm - 5pm for Alumni Weekend!
Monday, April 25, 2011
Blue Tinted Recycled Bertolli Jar
I am continuing on recycling bertolli jars. Below I didn't a jar with mod podge and a little food coloring. It worked wonderfully. I painted it on the outside and then to give it texture, pressed small bubble wrap into it. They make lovely candle holders as well as a great vase! Enjoy!
Friday, April 22, 2011
Recycled Bertolli Jar - Lace Lantern
Of all the food jars I have ever seen, my favorite are Bertolli sauce jars. The shape of them is just to nice to throw away. I have been trying to figure out easy ways to make them into lanterns. Mod Podge seemed the ideal solutions. I took paper doilies and cut them with my Fiskars large seal punch and then mod podged them to the jar, turning them so the whole would be at different positions. Below is the semi-finished product (I am still working on a handle for them). I think they are lovely though!
Subscribe to The Mad Recycler by Email
Become a Fan on Facebook
Before sure to watch for these and other recycled jar lanterns at my next craft show Saturday, April 30th from 10 am - 4 pm at the Canton Middle School for the St. Lawrence County Historical Association.
Happy Friday!
Subscribe to The Mad Recycler by Email
Become a Fan on Facebook
Wednesday, March 16, 2011
For the Nerd or the Crazy Cat Lady - the book clutch ♥
My latest recycled creation. I have been buying old books to make flowers out of and was trying to think of something to do with the covers and I came up with a book clutch. Some of the covers are so beautiful, and have such rich colors that they needed to be used. I linked it with some heavy blue seersucker fabric, that I had leftover from a previous project. I try to only buy books that no one will probably read, this one was title "The Science and the Mystery of the Cat". So all you nerds and crazy cat ladies ENJOY!
Don't forget craft show in Canton this Saturday at the Canton Day Care Center 9 am - 3pm.
Friday, March 4, 2011
Happy Friday! "You must be the change you wish to see in the world." - Mahatma Gandhi - A Great Upcycled Treasury
Took a break yesterday from blogging because I have a really great project to share next week that has really changed the direction of my bedspring wreaths. Earlier this week I created a wonderful treasury on Etsy to featured other great shops that create using upcycled/recycled/repurposed materials.
The treasury list is titled: "You must be the change you wish to see in the world." - Mahatma Gandhi
| 60" Flower Garden Rug Made from Recycled T-Shrits in a fellow NYers shop: greenatheart |
Friday, February 25, 2011
Happy Friday! Recycled Jar w/ Chalkboard Label and Upcoming Events!
TGIF! This is the first weekend in a long time I haven't had something to do! Unfortunately the BF has to work all weekend so I will be on my own. I think I might try to re-organize my spare bedroom/shop b/c honestly there is no way anyone could possibly sleep in this room right now :). I have already warned my little sister if she is coming to stay she needs to give me a weeks notice. I totally destroy it every time I have a show to do, so I think its time for some organizing and hopefully a little creating as well.
What I have to share today is actually what I used to display my fabric/soda can/sheet music roses last weekend at the FFA Craft Sale. I have been saving jars from food for awhile now and finally came up with a use for them that is rather easy, but cute. Using the same idea as my upcycled mail holder I taped off a square section on to each jar, painted it with a layer of white paint and then several layers of chalkboard paint. I then let it sit overnight and voila cute reusable jars.
Upcoming Shows
I just recently joined the Holiday Shopping Kick-off Fair which is a travelling fair that visits a different town each month and includes some of your favorite vendors, such as Avon, Scentsy, Pampered Chef, Gold Canyon Candles and so many other great local vendors. The next fair is Saturday, March 12th from 3 pm - 8 pm at the Massena American Legion. Become a fan on Facebook to know when we will be in your town!
I also signed up for another craft sale to benefit the Canton Day Care Center. This should be a rather large one b/c they have 4000 square feet for vendors to set up. This show is Saturday, March 19th from 9 am - 3 pm at the Canton Day Care Center at 205 State Street Road in Canton. There will also be several raffles to win items so check it out!
Friday, February 11, 2011
TGIF - Happy Weekend - Recycled Can Rose Magnets
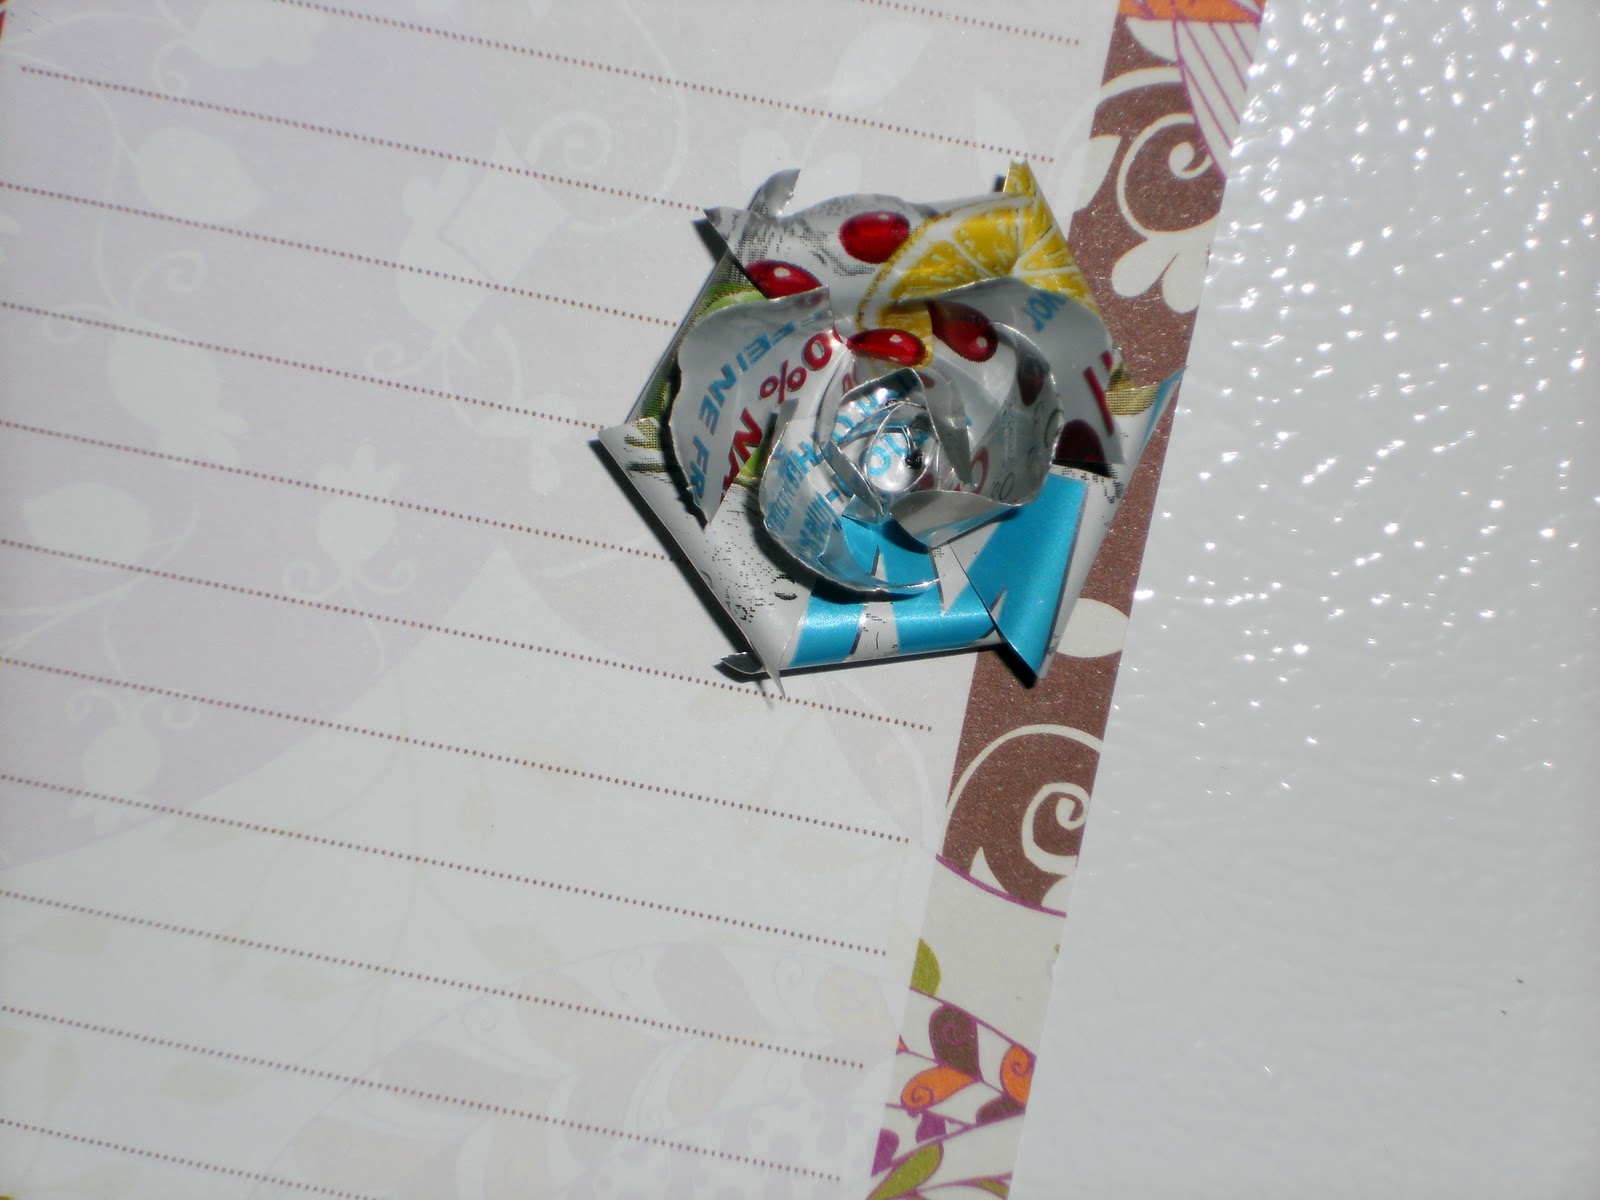
I am now always on the lookout for interesting cans that I could make into roses. I found some Diet Cranberry Sierra Mist cans and loved the look of them as roses, so I made them into magnets, by coiling up the stem and hotglueing a round magnet to the back. Check them out!
Thursday, February 3, 2011
Adorable Fabric Scrap Rag Bow
While working on some of my craft show projects I was trying to figure out a bow for my wreaths that I thought matched them well. It needed to be something ragged and unfinished, so I took a bunch of scraps i had left and cut them into small strips at different lengths in coordinating colors and then tied them with a solid color the wreath. I think it is a perfect bow for the style of the wreath!
Come check out my items at my first craft show, Saturday, Feb 5th from 11 - 3 at the Massena Winter Carnival! Hope to see you there!
Wednesday, February 2, 2011
Springs n' Thing has a sign - First Craft Show Countdown - 2 days to go
Since my first craft show at Massena Winter Carnival is quickly approaching I decided my little shop needs a sign. While at my father's this weekend, I went up into the old barn and found a piece to a cupboard or something and decided to paint my sign on it. I handpainted all the letters and then glittered them red. Totally love it!
Tuesday, February 1, 2011
"It is better to fail in originality than to succeed in imitation" ~ Herman Melville - Upcycled Soda Can Rose Tutorial
I love a good recycling project, the only problem with this one is I live in NY and we can return our cans for 5 cents but when you can create something so cute out of them, who worries about 5 cents. This is truly upcycling at its best from a 5 cent can, 2 - 3 soda can roses can be made, which in turn is creating something better out of something that could be thrown away!
Working at my normal workspace, our "coffee table" trunk in the living room, you will need:
- Clean, dry soda cans - preferably empty :), if not drink the soda first!
- Tin snips
- Scissors
- A Hammer
- A Nail
- A flower or round shape punch ( I'm using a seal punch b/c i like the scalloped edges and no shops around here had a flower, if you don't want to buy a punch you can always make a stencil out of cardboard, trace it and cut it out, this is a much longer process though)
- floral wire
- a scrap board
Here are some of the decorations I have created with the soda can roses:
Working at my normal workspace, our "coffee table" trunk in the living room, you will need:
- Clean, dry soda cans - preferably empty :), if not drink the soda first!
- Tin snips
- Scissors
- A Hammer
- A Nail
- A flower or round shape punch ( I'm using a seal punch b/c i like the scalloped edges and no shops around here had a flower, if you don't want to buy a punch you can always make a stencil out of cardboard, trace it and cut it out, this is a much longer process though)
- floral wire
- a scrap board
Step 1: using the tin snips, cut the can in half
Step 2: Cut the top and the bottom off leaving a flat rectangular piece
Step 3: Using your punch, cut out the shapes from the rectangle (with my punch I can get anywhere from 5 - 8 cutouts per can)
Step 5: If you are using a non-flower punch, you will need to cut petals into it, so cut 5 or 6 cuts towards the center but do not disconnect. Take the hammer and nail and on your scrap board put two holes in the center of each cut out.
Step 5: Cut a length of the floral wire, twice as long as you want your stem to be and run it through the 2 holes of 2 or 3 cutouts (depending on how big you want your rose), color side up works best too and then twist the wire tightly.
Step 6: Using the nail or a rounded pair of pliers, bring the first layer of petals up and round them to make the center of the flower
3. For the next layer(s), bring every other petal to the top and round the edges using the nail or pliers, then round the remaining layers as well and you should be done!
Here are some of the decorations I have created with the soda can roses:
A banner created using the bottoms of larger bedsprings with a rose in every other small spring.
I attached some roses to this bedspring wreath and painted the whole thing white. If you do not like the look of the soda cans this method is wonderful b/c you would never know they were soda cans!
Wednesday, January 19, 2011
Upcycled Lace Tablecloth Hearts &heart;
I am still working with my huge lace tablecloth, but I have been creating so many cute things I just wanted to share more. Last week I created some great rustic lace hearts.
To make this, the first step is to create a small wire frame to stretch the lace around. I used some old fence wire, but you could use coat hanger or whatever you have handy. Cut a square of lace or whatever you want to stiffen around the wire shape, just a big enough to wrap around the wire shape. Have a square of parchment paper ready to put it on.
Put the square in the glue/water mixture, used in the Lace Basket tutorial (glue with a little water)

Ring out the square place it on the parchment paper, then place the wire shape on top of it and stretch the lace around it.
Wait for it to try then peel it apart a little to get the frame out, it should still hold its shape, if you want you can trim the back up a little bit too. I ran a piece of twine through a hole in it to create the above decoration. I also made another curly corned basket.
After making a couple hearts and 2 baskets, I still have all this tablecloth left, so I think I'm going to make a rustic lace heart garland :).
Tuesday, January 18, 2011
Flea Market Finds: Primitive, Rustic Strainer
On another visit to North Country Neighbors I found some more great finds and things for upcycling, but one of my happiest finds was an antique strainer for $5. I'm using it as a bowl on my coffee table, I put a bunch of springs that I have for future projects around it and put a jar candle in the center. It has a great rustic vibe, and I just love the springs :). At least they don't have to be stored in a drawer until I find a use for them!
Subscribe to:
Posts (Atom)